
Rust-Oleum Projects
Glitter Spray Paint Wedding Card Boxes
Browse Projects
-
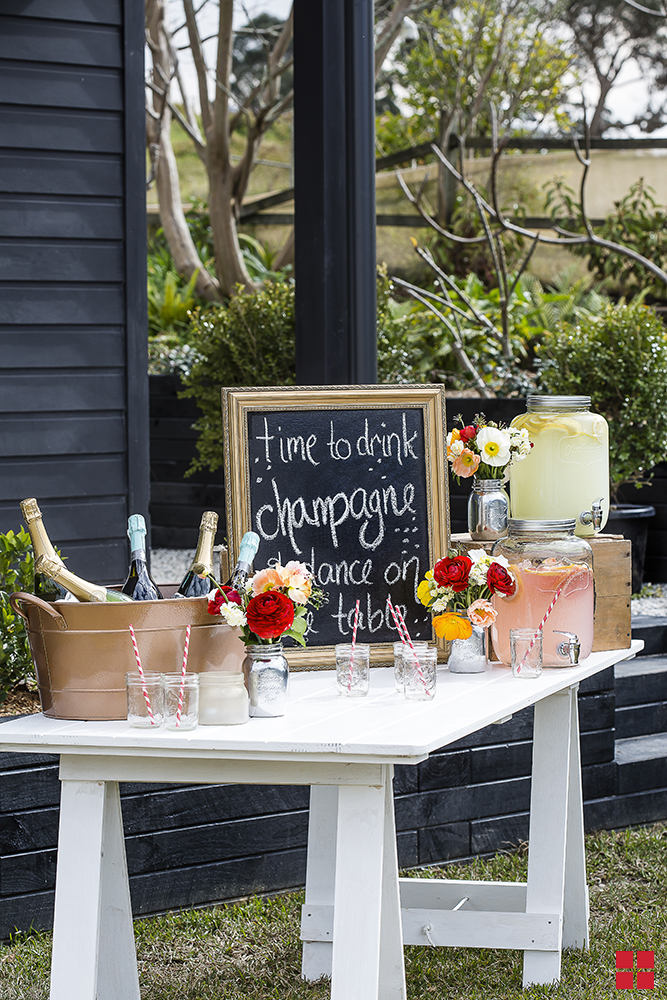
Write Your Own Wedding Reception Message on This Framed Chalkboard
-
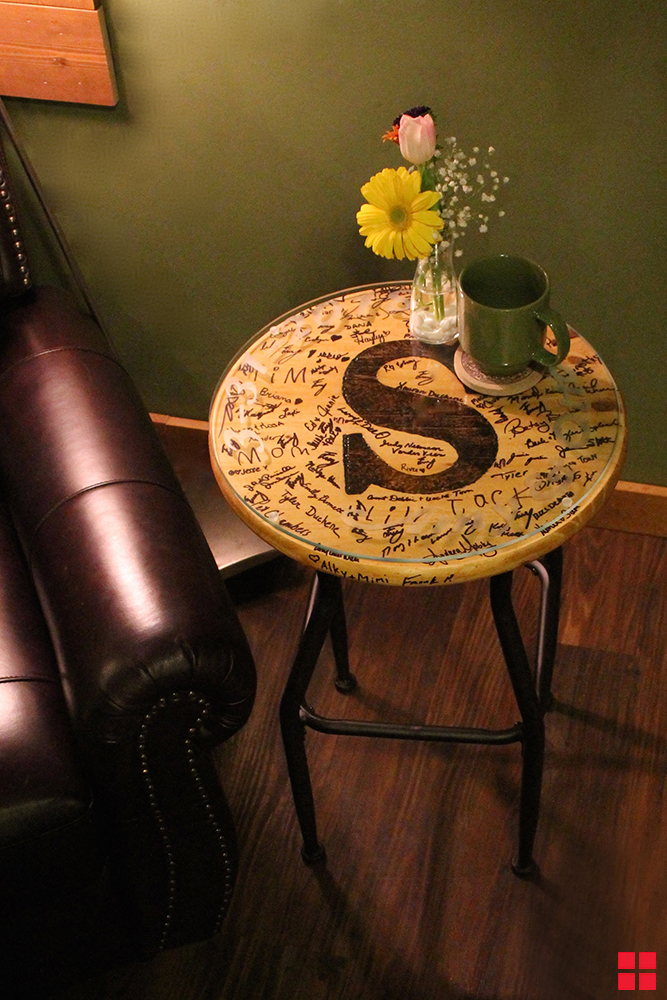
Wedding Guest Book Table
-
Estimated Time
1.5 Hours
-
Challenge Level
Easy
-
Tools & Supplies:
-
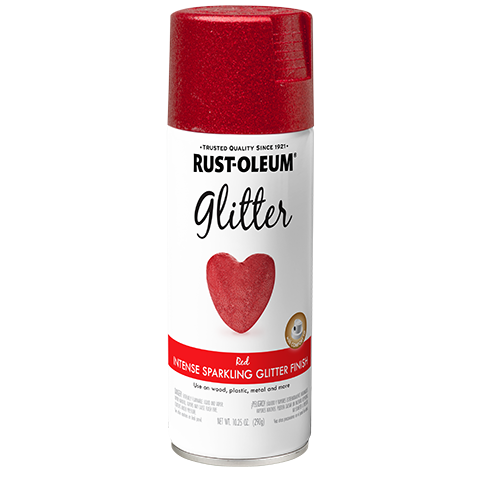
Specialty Glitter in Silver
-
Specialty Glitter Clear Sealer
-
Plain Craft Boxes
-
Craft Glue
-
Ribbon
-
Gloves
-
Drop Cloth
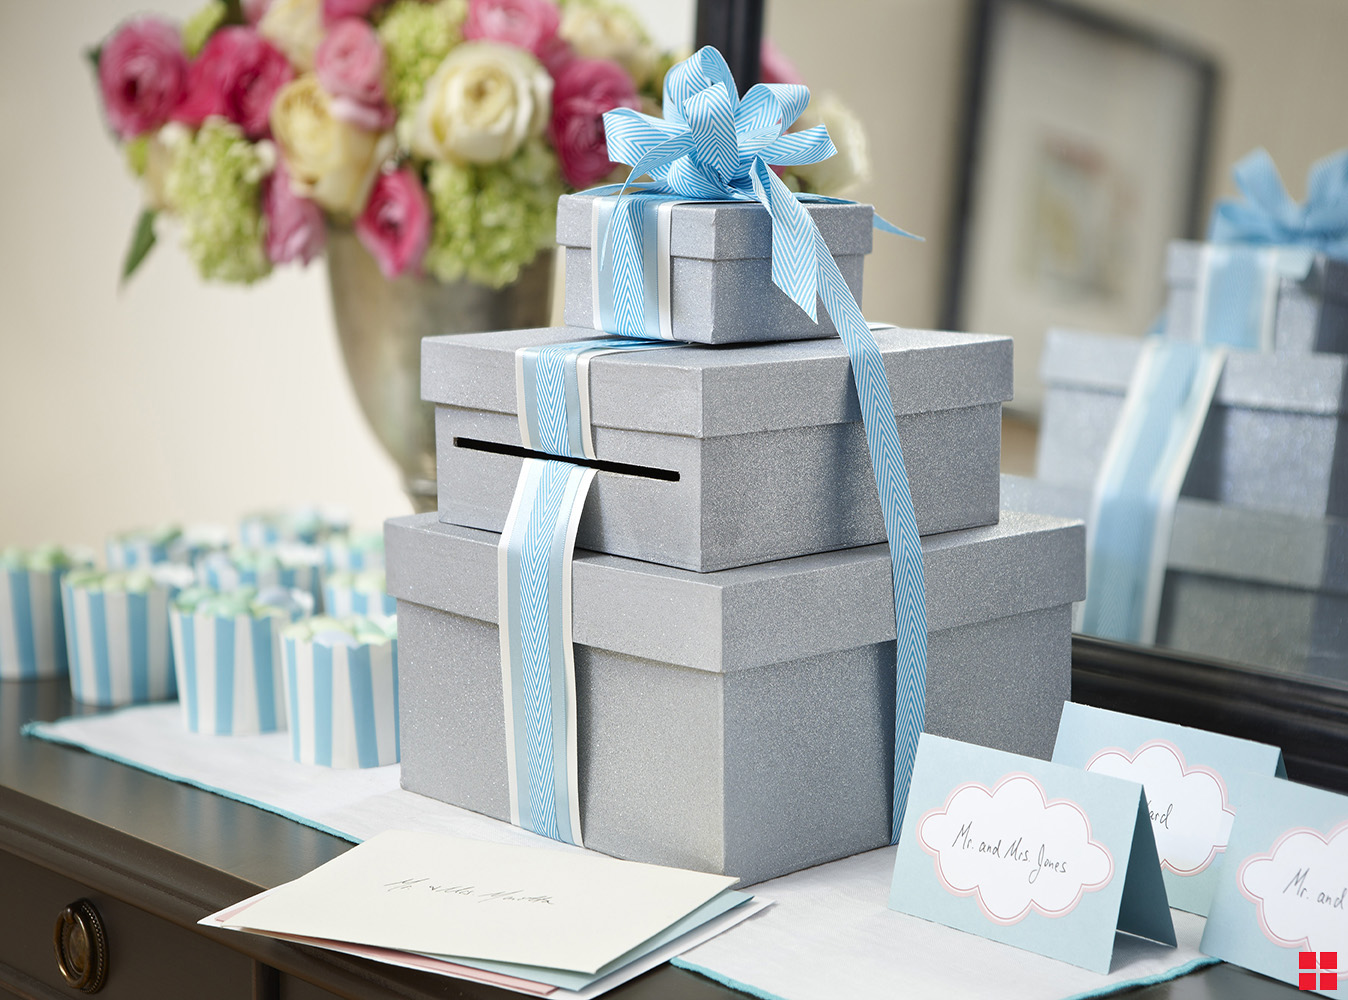
It's easy as 1-2-3 to give plain craft boxes a little pizzazz with Rust-Oleum's Specialty Glitter spray paint. Cut openings and mount them together for a unique, DIY wedding card box.
- Cut a large hole in the largest box and a small slit opening in the medium size box for the cards.
- Over a drop cloth, spray Specialty Glitter in Silver on the box tops and bottoms, covering every surface. Hold your can of glitter spray 10-12" from the boxes and begin spraying the surface in a steady back-and-forth motion, slightly overlapping each stroke.
- Apply 3 or more light coats at a moderate speed. For best results, apply multiple light coats instead of one heavy coat. Let each coat dry for a few minutes before adding the next.
- Let the glitter dry for about 20 minutes, then top coat with Glitter Clear Sealer. For best results, apply 2 or more coats.
- Let the paint and sealer dry for approximately 1 hour.
- Assemble the boxes, stacking one on top of the other. Secure with glue and ribbon.