
Rust-Oleum Projects
Bathroom Shelves
Browse Projects
-
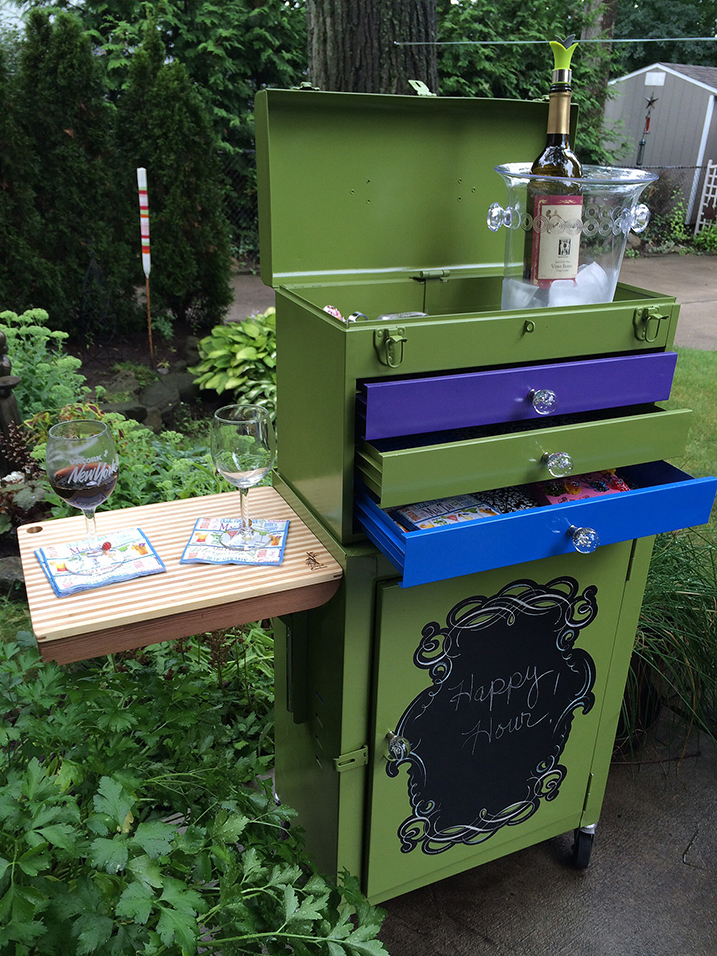
Outdoor Beverage Cart
-
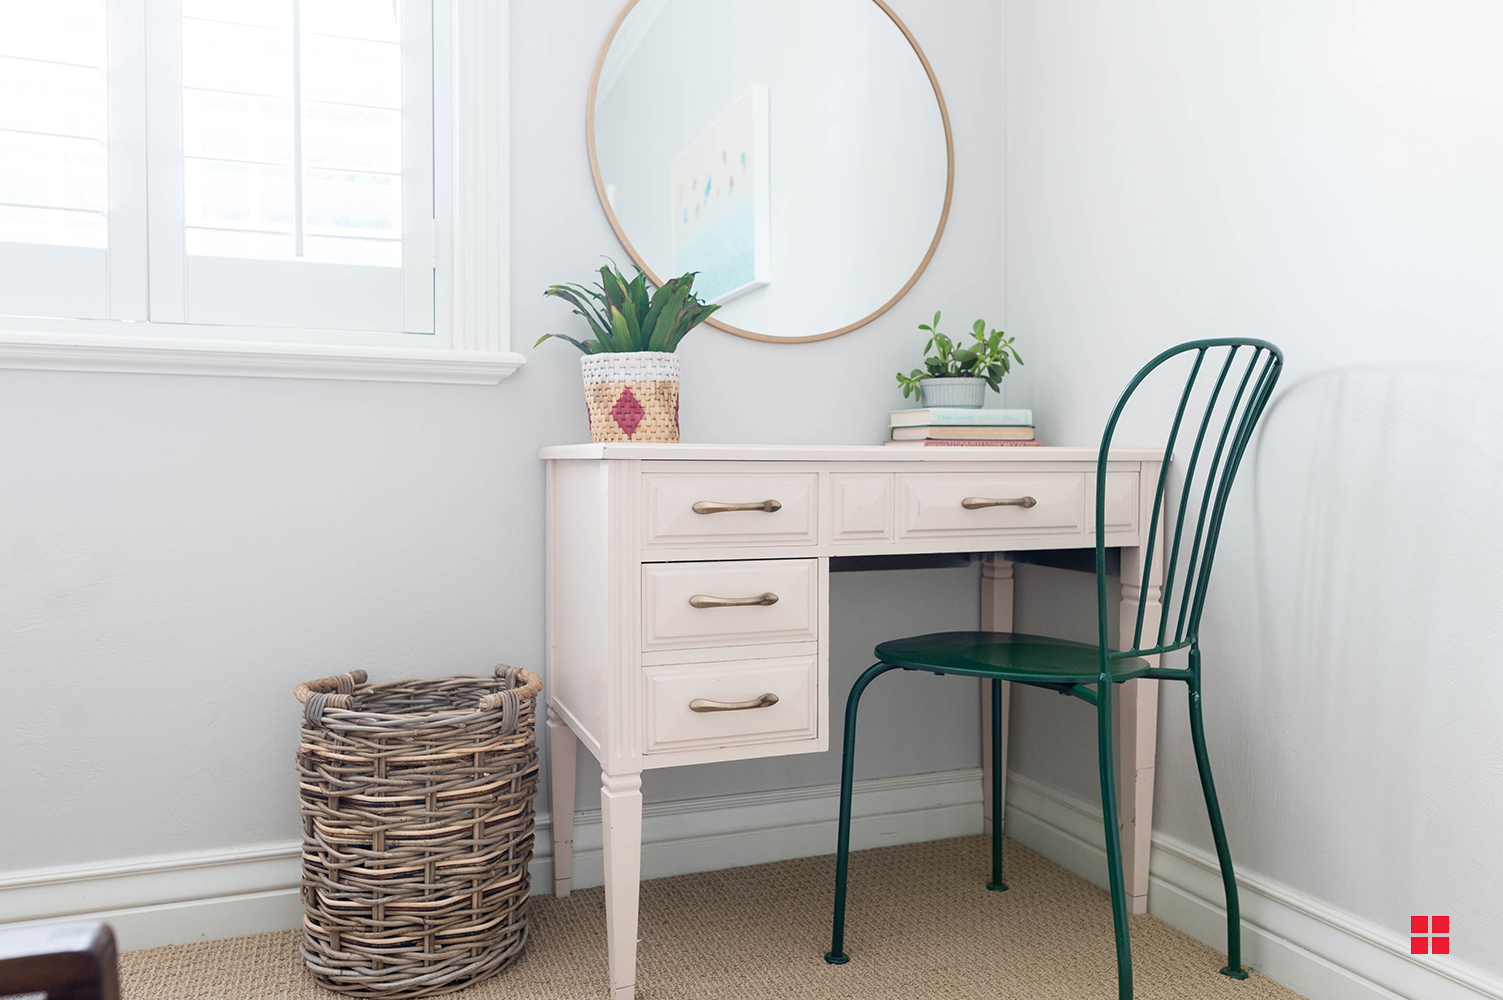
Upcycled Desk in Pink
-
Estimated Time
12 Hours
-
Challenge Level
Easy
-
Tools & Supplies:
-
Photo Transfer
-
Chalked Ultra Matte Spray Paint in Aged Gray & Linen White
-
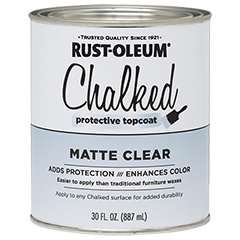
Chalked Protective Topcoat Spray
-
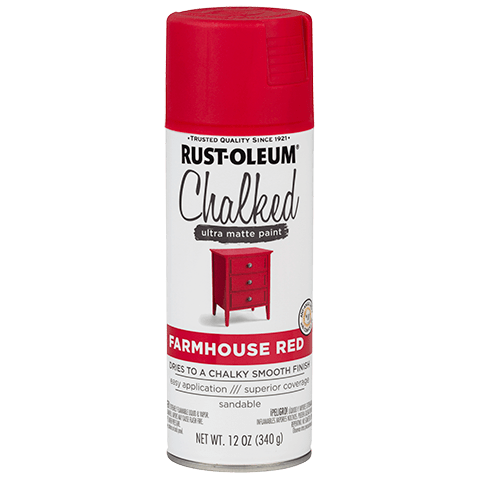
Universal Matte Spray Paint in Farmhouse Black
-
Photo of Your Choice
-
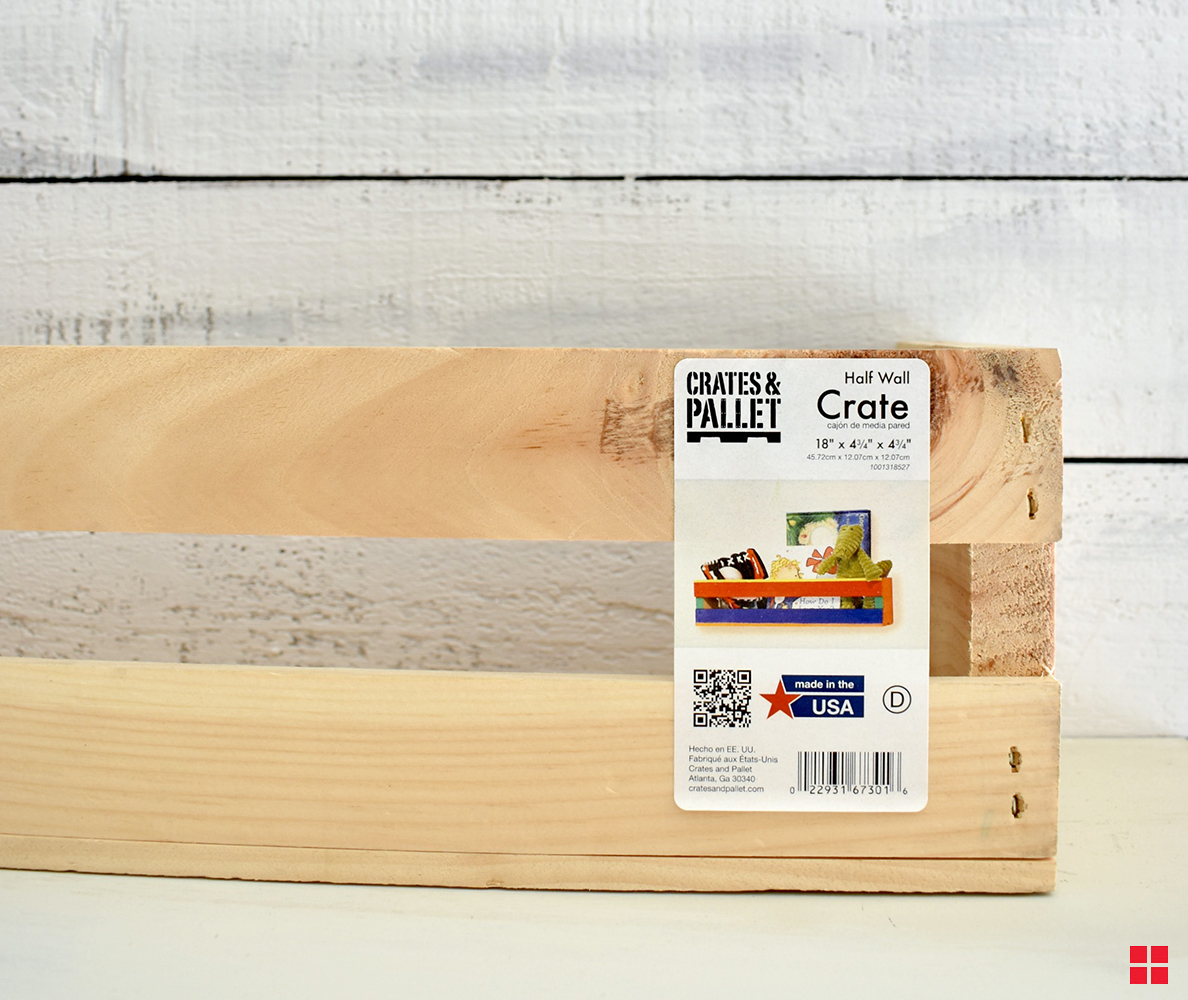
2 Unfinished Crates and Pallets Half Wall Crate
-
1 Pack of Unfinshed Wood Gift Tags
-
2 Unfinished Wood Plaques
-
Light Grit Sandpaper
-
Foam Brush
-
Wood Glue
-
Drop Cloth
-
Tack Cloth
-
Gloves
-
Ruler

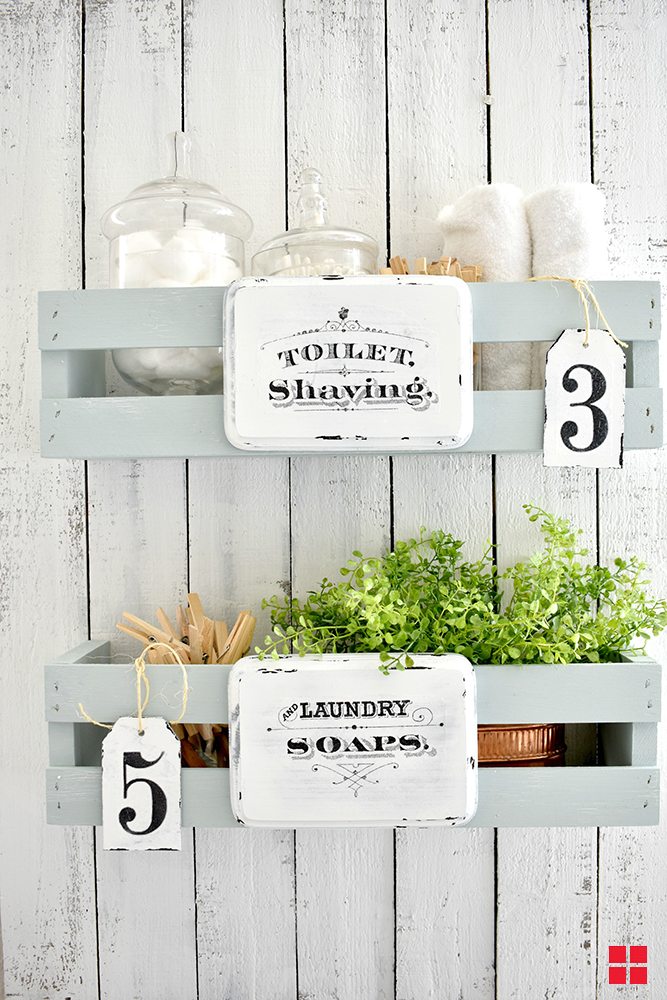
These unique bathroom shelves are an easy DIY project. With some Rust-Oleum Photo Transfer and paint, you can create your own version of these bathroom shelves to add style and storage to your space.
PREPARE: Working in a well-ventilated area and over a drop cloth, lightly sand the half wall crates, wood plaques and gift tags with a sanding block. Wipe away sanding residue with a tack cloth.
PAINT: Lay the half wall crate on your drop cloth. Then, shake your can of Rust-Oleum Chalked Ultra Matte Spray Paint (we used the color Aged Gray) for one minute after the mixing ball starts to rattle. Hold the can 10-12” away from the crate and spray in a sweeping motion. Apply 2-3 light coats, allowing a few minutes in between each. Then, set the crate aside to dry for 4 hours.
DISTRESS (OPTIONAL): To get a distressed look on the plaque and gift tags, spray paint the edges with Rust-Oleum Universal Spray Paint (we used Farmhouse Black). Use painter’s tape to cover any areas you don’t want to paint. Then, remove the tape and apply Chalked Ultra Matte Spray Paint in Linen White to the entire surface, including the edges. Allow the paint to cure for 24 hours. Use a medium grit sandpaper to lightly sand the plaque and gift tags, focusing on the edges and corners. Once you’re done distressing, wipe away the sanding dust with a tack cloth.
PHOTO TRANSFER: Use a foam brush to apply a generous layer of Rust-Oleum Photo Transfer to the printed side of the image you want to use. Place the image face down on the plaque. Use an item with a hard edge, like a ruler or plastic card, to press along back of image to smooth out any air bubbles. Let the Photo Transfer solution sit on the image for 12 hours to cure. After 12 hours, wet the paper with water until you see the image. Use a clean rag and rub in a circular motion to remove the paper backing, so that only the transferred image remains. Repeat steps for the gift tags.
PROTECT: To protect the finish on the shelves, plaque and gift tags, apply Rust-Oleum Chalked Protective Topcoat Spray Paint using the same instructions given for the paint.
FINISH: Let dry overnight. Once dry, attach the plaques and to the shelves using wood glue and tie on the gift tags for extra personality.