
Rust-Oleum Projects
Chalkboard Painted Desk Organizer
Browse Projects
-
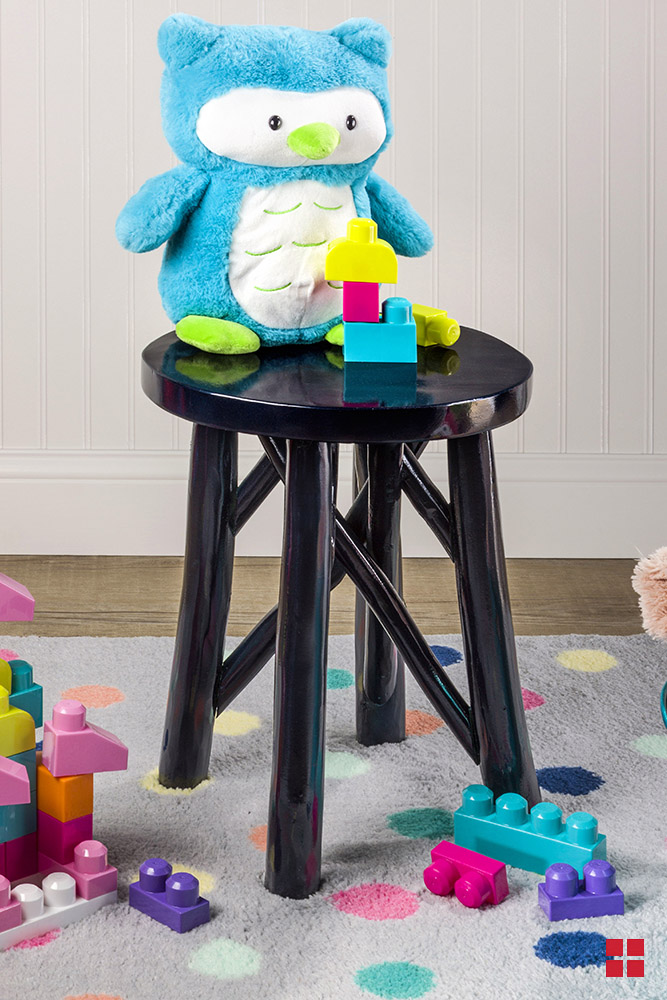
Update a Stool With a New Color
-
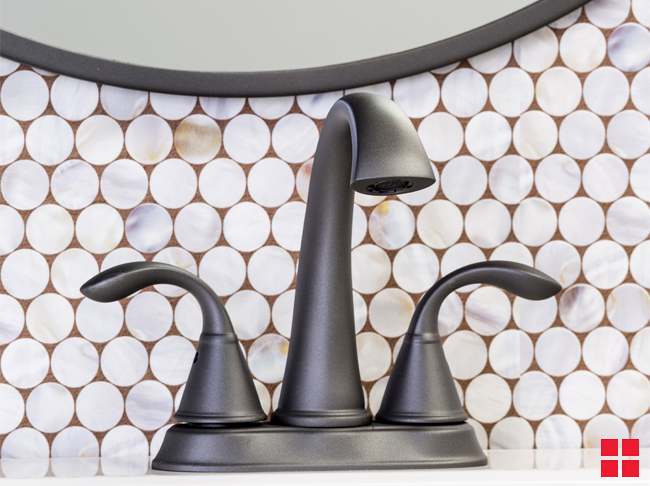
Painted Faucet & Knobs
-
Estimated Time
2 Hours
-
Challenge Level
Intermediate
-
Tools & Supplies:
-
Desk Organizer
-
Chalk
-
Drop cloth
-
Painter's tape
-
High Quality Synthetic Bristle Brush
-
Stir Stick
-
Clean Rag or Chalk Eraser

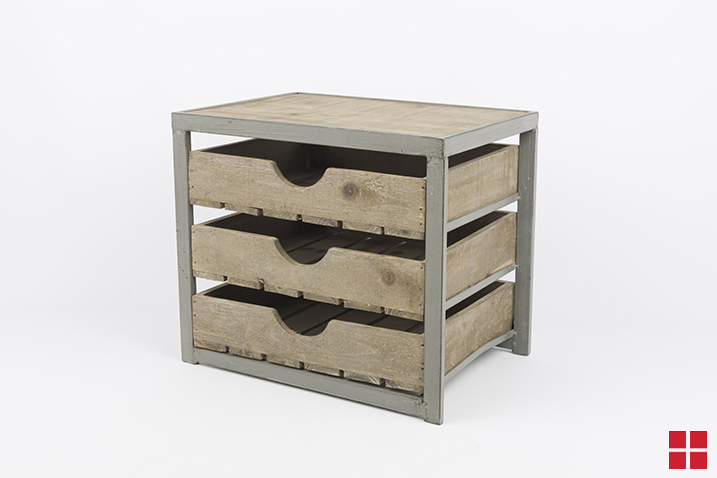
A chalkboard painted desktop organizer makes it easy to label your drawers, so you’ll never have a messy desk again! Here’s how to make your own in a few steps.
PREPARE: Setup your workspace in a well-ventilated area and use a drop cloth to protect from overspray. Remove all the drawers from your organizer before you start painting. Use painter’s tape to cover any areas of the frame and drawers that you don’t want to paint.
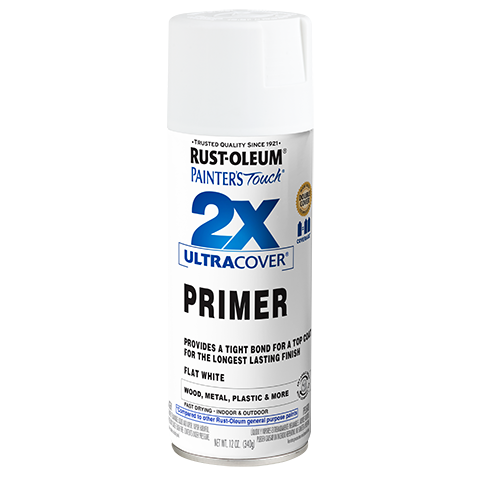
PRIME: Shake your can of Rust-Oleum Ultra Cover 2X Spray Primer in White for 1 minute after the mixing ball begins to rattle. Hold the can 10-16” away from the surface, and spray your desk organizer in a sweeping motion, slightly overlapping each stroke. Apply two or more light coats of primer a few minutes apart.
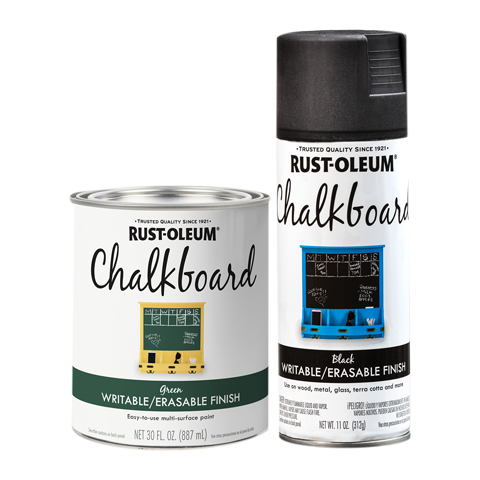
PAINT: Stir your can of Rust-Oleum Chalkboard Tint Base (we tinted ours Fresco Red) thoroughly with a stir stick. Then, brush the paint onto the fronts and sides of the drawers, using even brush strokes. Let the paint dry for 2-4 hours, and then apply a second coat. Repeat this step with your organizer’s frame. (We chose Periwinkle for this part.)
FINISH: Let the organizer’s frame and drawers dry separately for three days. This will allow enough time for the chalkboard paint to cure. After three days, rub the side of a piece of chalk all over the chalkboard areas, then wipe the chalk away with a dry rag or chalk eraser. Now that your chalkboard surfaces are conditioned, you can label or decorate your desk organizer with chalk.