
Customer Project
Wood Smartphone Speaker
Browse Projects
-
Wooden Crate Planters
-
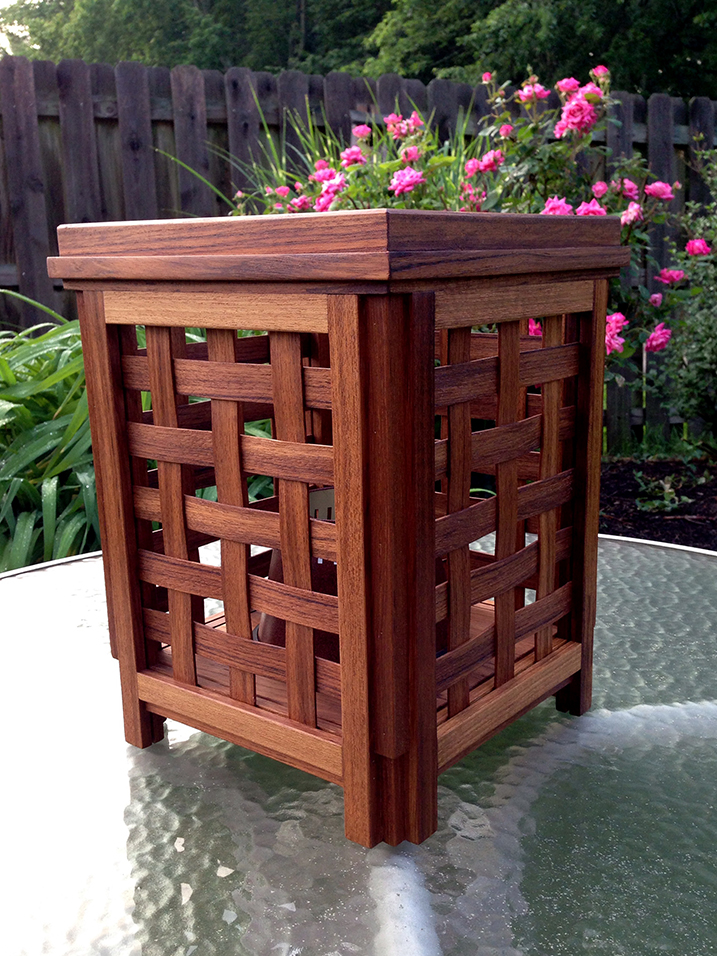
Outdoor Citronella Candle Teak Lantern

-
Estimated Time
3 Hours
-
Challenge Level
Intermediate
-
Tools & Supplies:
-
Wood Glue
-
Clamps
-
1 3/4" Forstner Drill Bit
-
1 3/8", 1" and 3/4" Forstner Drill Bits (optional)
-
Sandpaper: grits 100, 150, 220
-
Painter's tape
-
Dimensional Block of Pine (approximately 12" x 4" x 2")
-
1/8" Plywood or Hobby Wood
-
Paring Chisels
-
Hammer
-
Handsaw or Table Saw
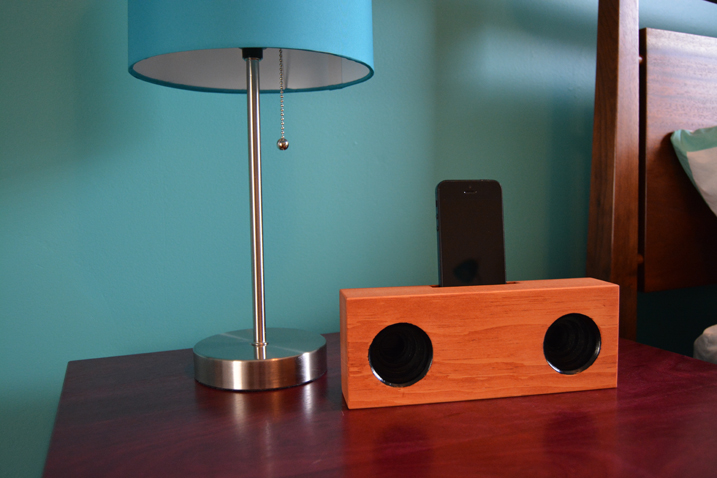
- Cut the block of pine to dimensions of 3 1/2" x 9" x 1 3/4".
- Cut 1/8" craft plywood piece to 3 1/2" x 9" to match block of pine.
- Locate the centers of the two speaker holes on the larger piece 1 3/4" from the bottom edge and each end.
- For users with multiple bit widths: Start by drilling through the front end with the 1 3/4" bit to a depth of 1/2" on both speaker holes, then repeat this step with the additional 1 3/8", 1" and 3/4" width bits each to a depth of 1/2" each, creating a gradual cone shape. Be sure to drill all the way through the block with the final bit.
- For users with one 1 3/4" bit, simply drill through both speaker holes on either side of the wood block.
- Locate the center of the top portion of the block and mark out a rectangle 3" wide and 1 1/2" deep.
- Chop out the waste with hammer and paring chisels so the slot accommodates your phone to a depth of approximately 1/2".
- Mark out slots leading from the bottom of where your phone will sit to the center of each speaker hole, and remove the waste to a depth of 1/2" as you did in step 7.
- Glue and clamp the plywood piece to the back edge of the speaker and allow to dry.
- Sand your project with progressive grits 100, 150 and 220 until all the edges are smooth and ready for finish.
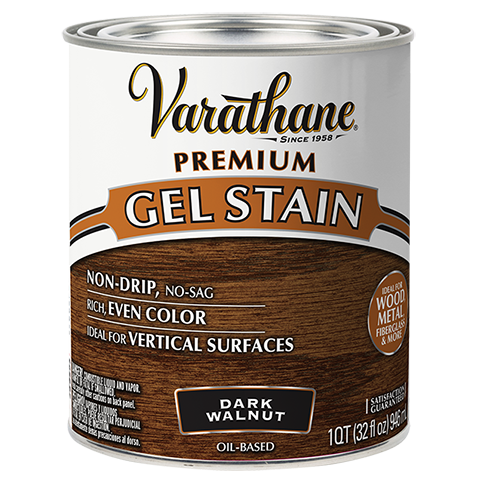
- Apply two coats of stain onto the speaker — with the exception of the speaker holes — based on the directions indicated. Allow to dry for 24 hours.
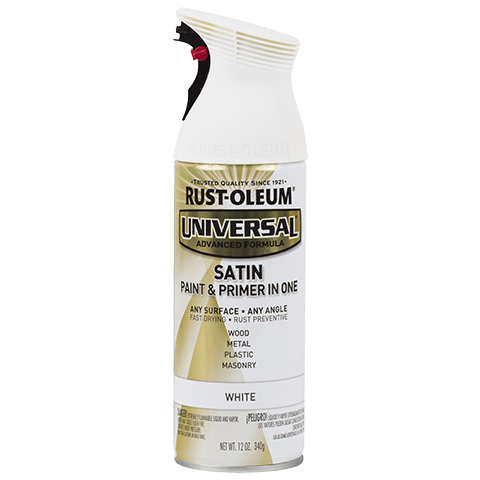
- Using the painter’s tape, completely cover the entire project and then carefully remove the tape covering the speaker holes.
- Spray two to three coats of paint to the speaker holes. Allow to dry overnight before removing the tape.