
Rust-Oleum Projects
Lantern
Browse Projects
-
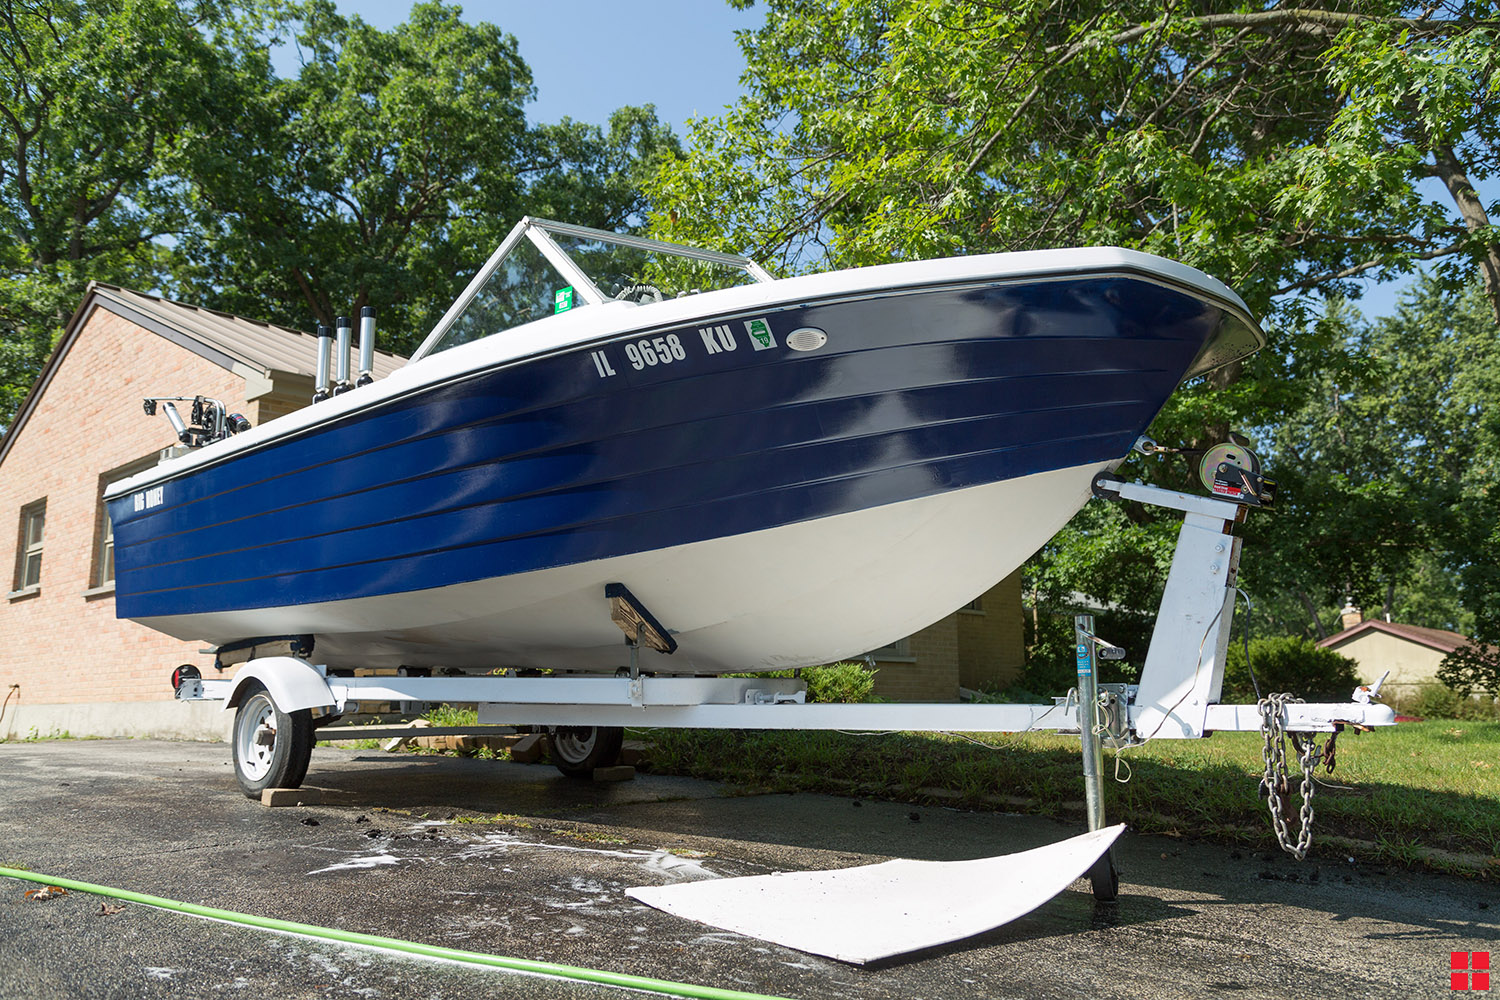
Krud Kutter Wash Gets Your Boat Ready for Water or Storage
-
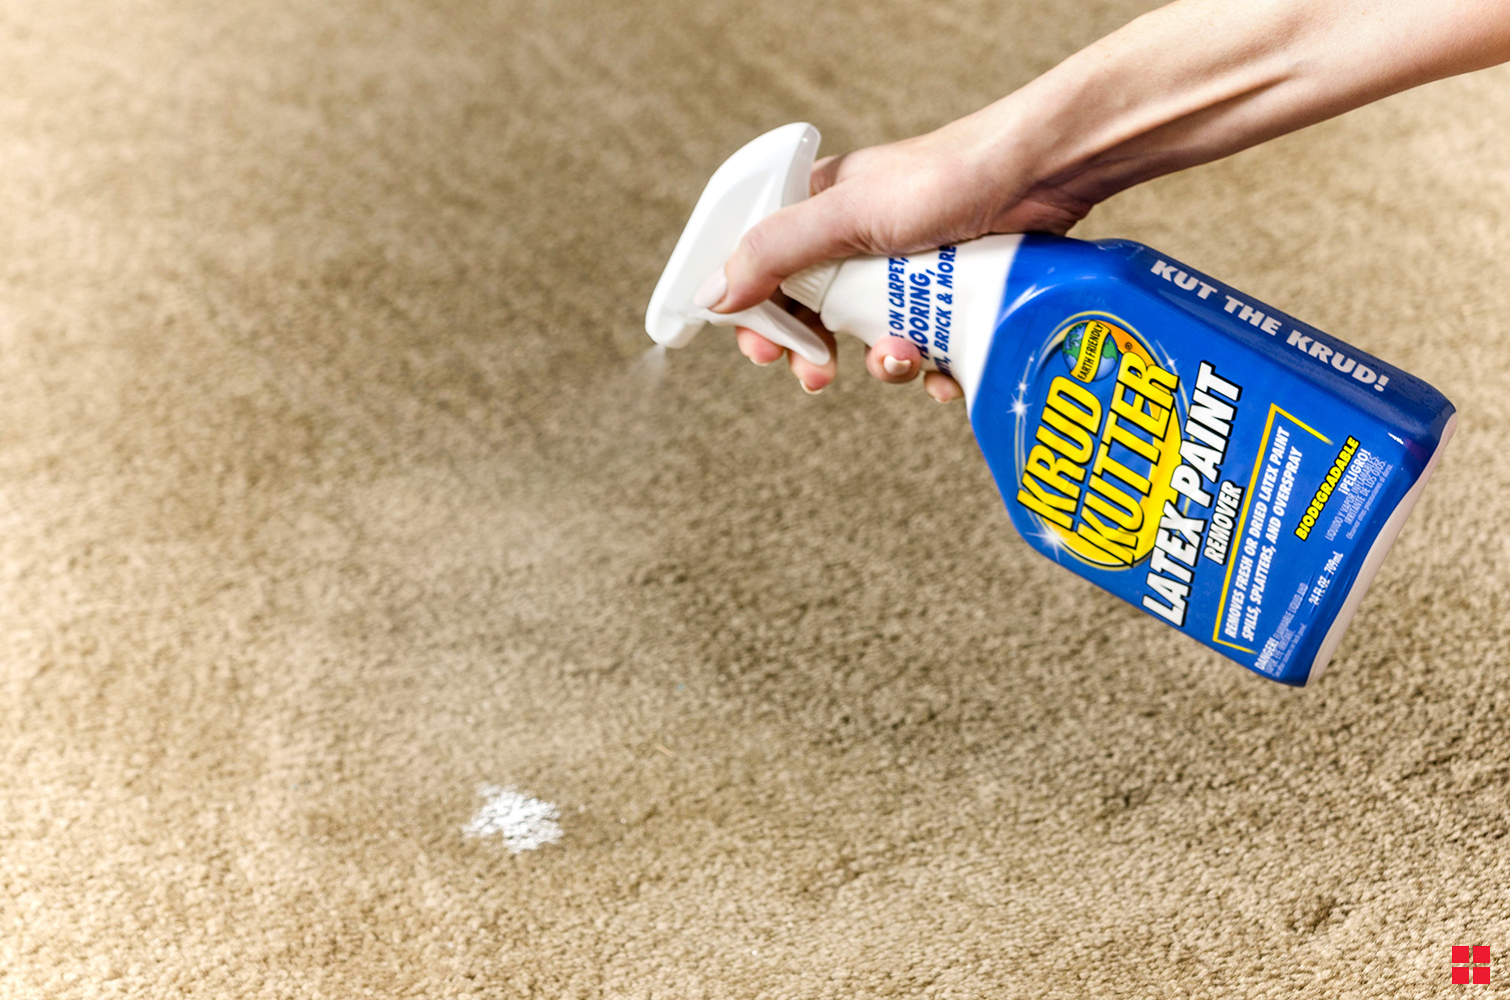
Remove Latex Paint from Any Surface
-
Estimated Time
2 Hours
-
Challenge Level
Intermediate
-
Tools & Supplies:
-
Old Sheets or Drop Cloth
-
Brad Nailer
-
13 Pieces of Wood
(1) 9 1/2" x 1" x 10"
(8) 15" x 2" x 2"
(2) 9" x 2" x 2"
(2) 5" x 2" x 2" -
(4) 7 1/2" x 15" Acrylic Pieces
-
Clear-Drying Permanent Craft Glue
-
Battery-Operated Candle
-
Sandpaper
-
Tack Cloth
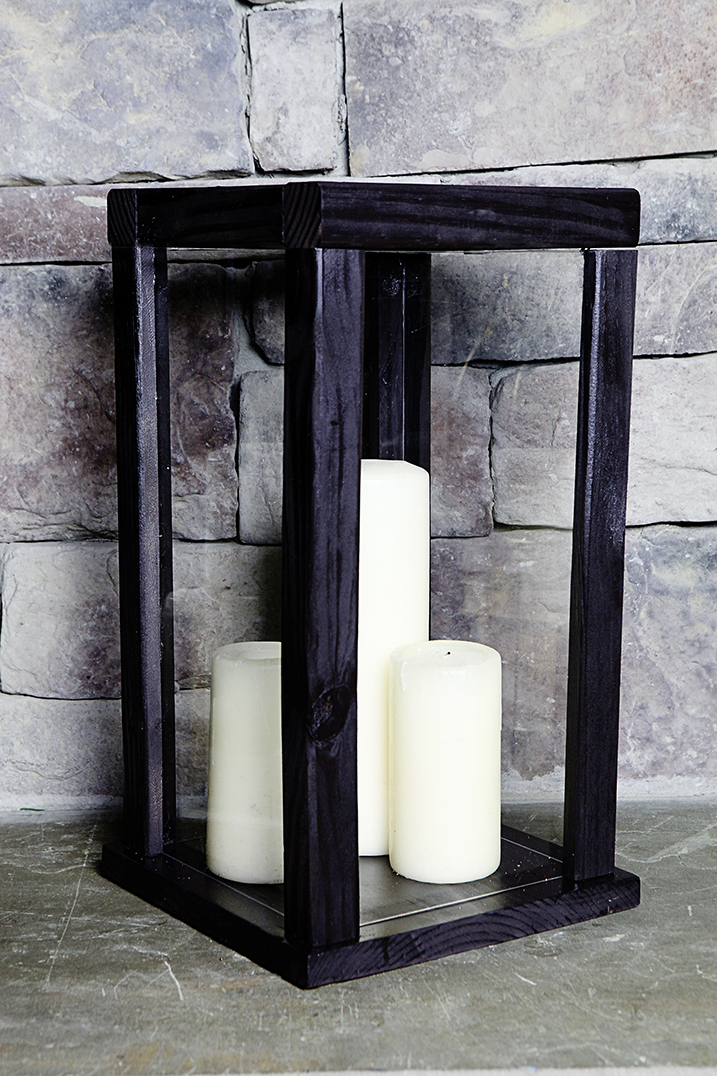
- Sand all the wood and remove dust from surface using the tack cloth.
- Using brad nailer, attach two 15" x 2" x 2" pieces to form an L shape. Repeat until you have four L’s.
- Using a brad nailer, attach one L to each corner of the 9 1/2" x 1" x 10". Allow for a 1/2" gap on outside and make sure all the L's face inward.
- Spread out the old sheet or drop cloth and place wood pieces on it.
- Spray-paint all wood pieces using a sweeping motion. Allow to dry.
- Apply dab of adhesive on the edge of the acrylic pieces and insert one per side of lantern. Allow to dry.
- Attach the 9" x 2" x 2" and 5" x 2" x 2" pieces with a brad nailer so they form a square top.
- Attach the square top to the upright 15" x 2" x 2" L's using glue and brad nailer.
- Fill with battery-operated candles and enjoy!