
Rust-Oleum Projects
Painted Hexagon Shelves
Browse Projects
-
Make Some Fun
-
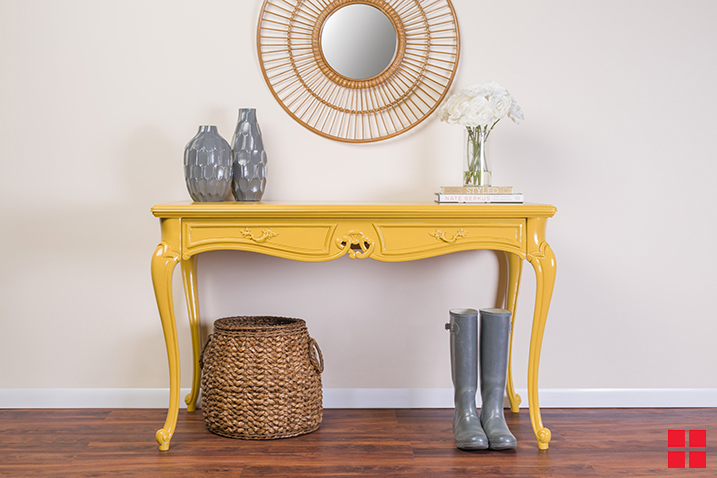
Painted Entryway Table
-
Estimated Time
Approximately 1 hour
-
Challenge Level
Easy
-
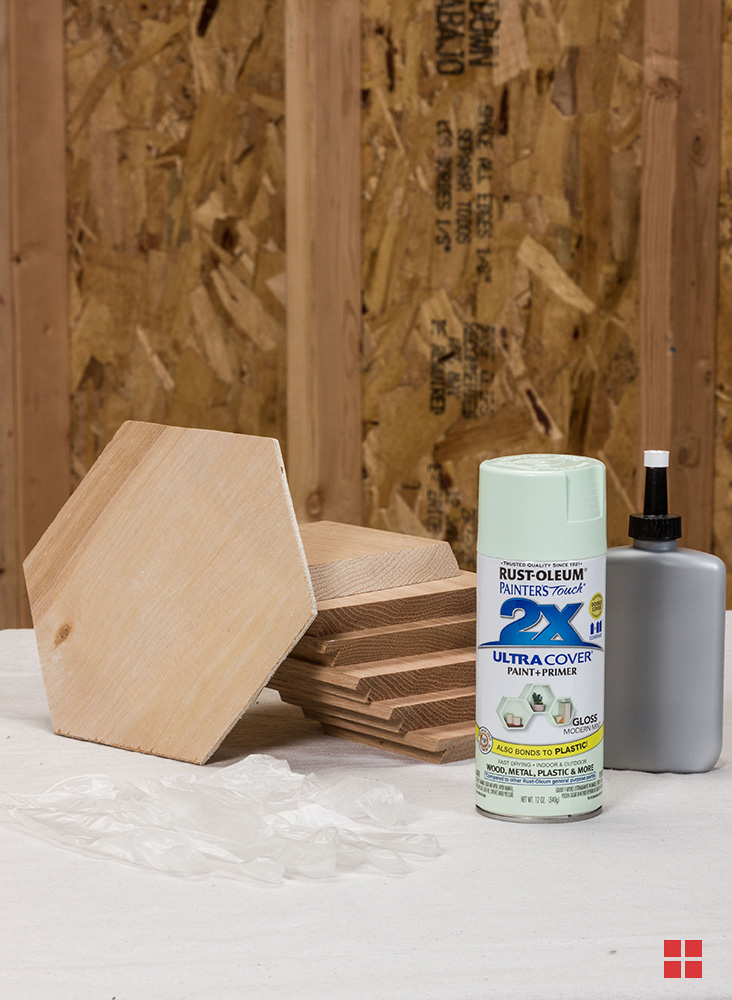
Tools & Supplies:
-
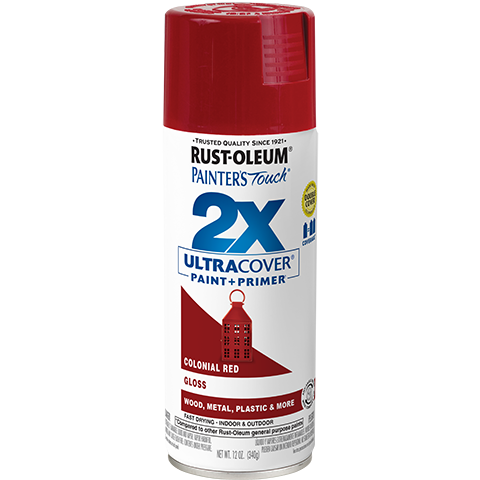
2X Ultra Cover Spray Paint in Gloss Modern Mint
-
Unfinished Wood Cut into Squares and Hexagons
-
Drop Cloth
-
Gloves
-
Wood Glue
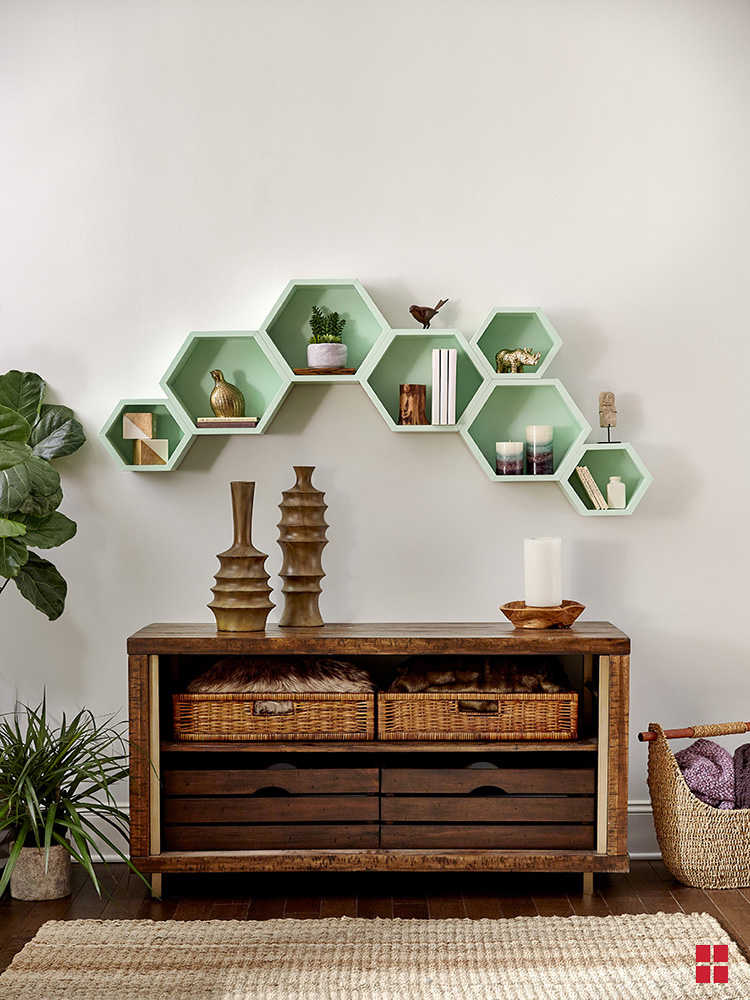
Give your living room wall a new look with painted hexagon shelves. Whether you buy pre-made shelves or construct your own, this project will add color and style to your space.
Small hexagon box: 8-3/4"W x 5-1/2"D. Each of the six sides is 5".
Large box: 12-1/4"W x 5-1/2"D. Each of the six sides is 7".
The backs of each box is notched out to receive the thin plywood back.
The notch cuts are made on a table saw and do not go through the thickness of the board.
PREPARE:
Always work in a well-ventilated area and cover the floor with a drop cloth to protect it from overspray.
ASSEMBLE:
If making your own shelves, after cutting wood pieces to size, attach them with wood glue and let dry.

PAINT:
Begin with a base coat of Rust-Oleum 2X Ultra Cover White Spray Primer for added protection, superior adhesion and longer-lasting color. Shake your can of Rust-Oleum 2X Ultra Cover Spray Paint (we used Gloss Modern Mint) for one minute after the mixing ball begins to rattle. Then, hold the can 8-12” away from the hexagon shelves and spray in a steady, back-and-forth motion. Apply 2-3 light coats, waiting a few minutes between each coat.

FINISH: Glue the hexagon shelves together in the pattern of your choice. Let the paint and glue dry for 24 hours before hanging the shelves on your wall.
