
Rust-Oleum Projects
Decorative Glaze Adds Vintage Flair to Writing Desk
Browse Projects
-
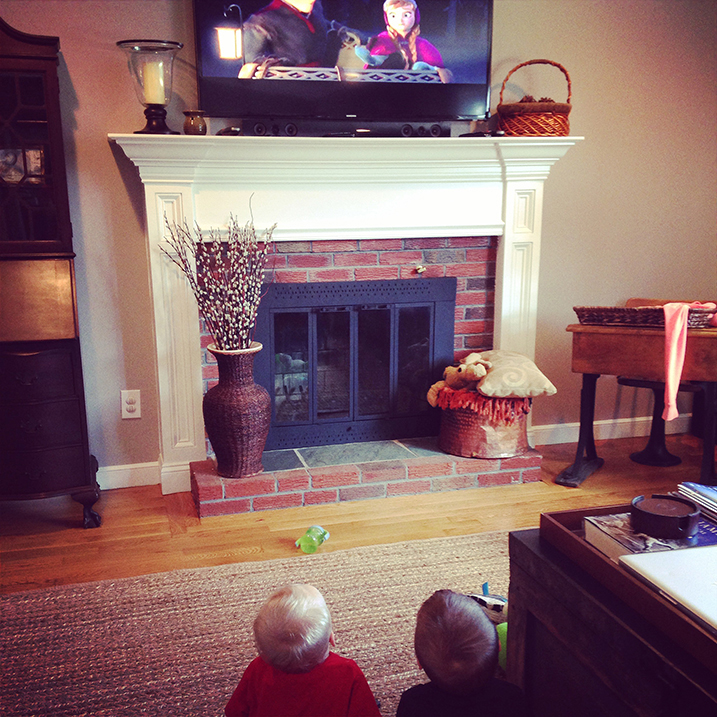
Fireplace Festivities
-
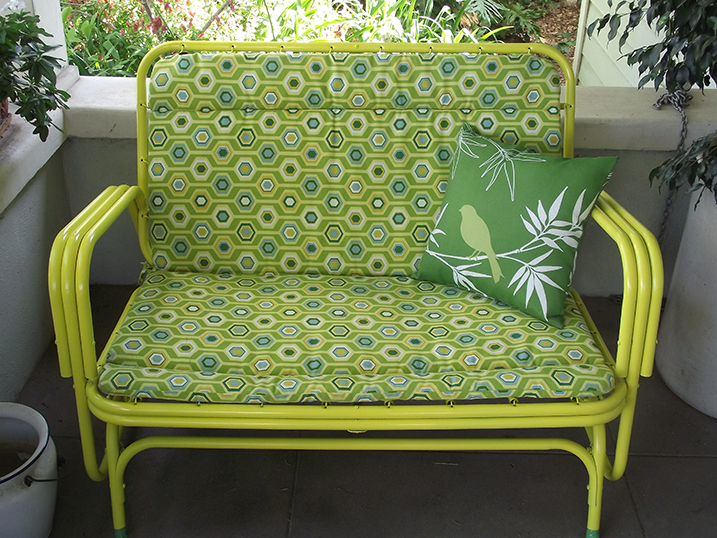
Glider Chair Revival
-
Estimated Time
Approximately 4 days
-
Challenge Level
Easy
-
Tools & Supplies:
-
1 Wooden Desk
-
Drop Cloth Or Old Sheet
-
Gloves
-
Clean Lint Free Rags
-
Protective safety mask
-
2 synthetic paint brushes
-

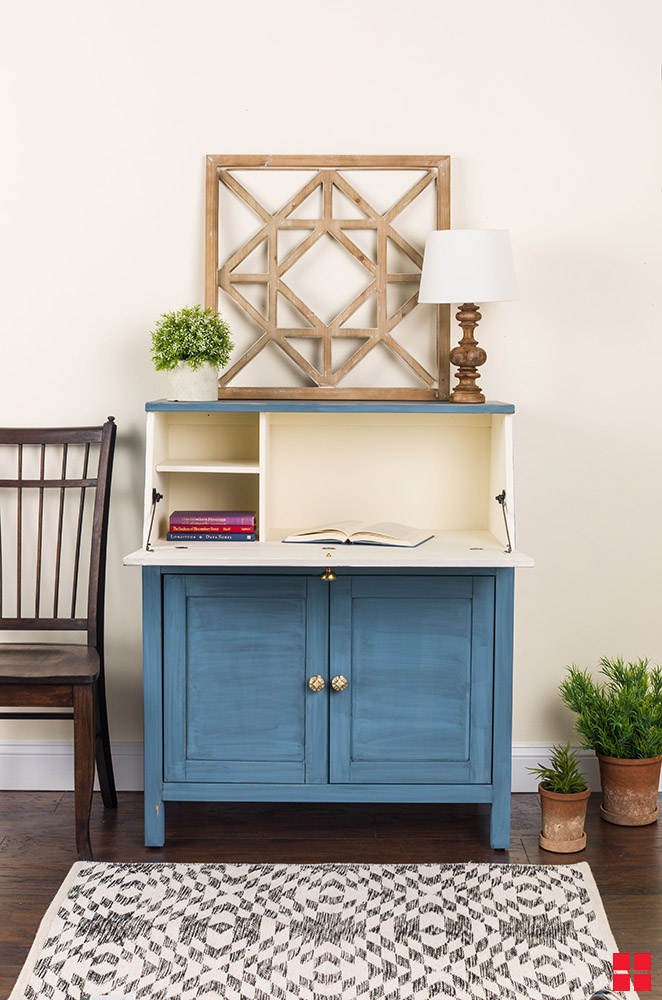
Adding a little vintage flair to your favorite writing desk has never been easier than with Chalked Glaze. Just apply it over any chalked surface to get an aged or antiqued look.
- Lightly sand the desk with a sanding block and wipe away sanding residue with a lint-free cloth.
- Stir the Dark Tint Base in Lake Blue & Light Tint Base in Chiffon Cream before applying.
- Using a 2" high-quality synthetic brush, paint on the dark tint base on the outside of the desk and the light tint base on the inside.
- Let the paint fully cure for 4 days before applying glaze.
- Once cured, you may choose to distress areas of the desk before applying the glaze.
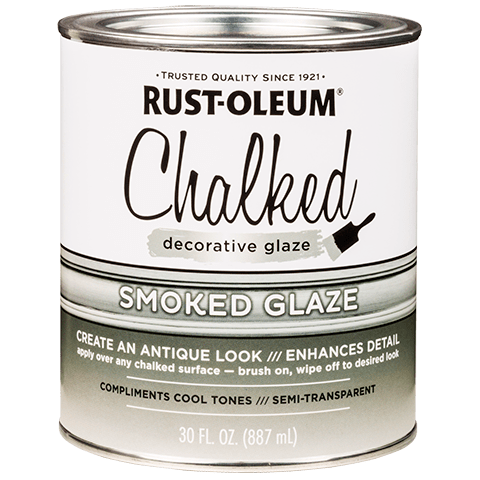
- Stir the glaze gently as to not create bubbles.
- Using a 2" high-quality synthetic brush, brush on the decorative glaze with slow, even strokes, then wipe off excess with a lint-free cloth. To achieve a darker color, let glaze sit for few minutes before wiping.
- Let glaze dry for approximately 8 hours.
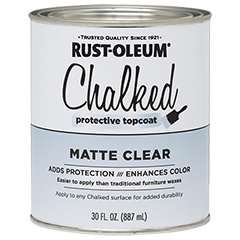
- Apply top coat with a high-quality synthetic paint brush in light, even coats until fully covered.
- Top coat will be dry to the touch in 30 minutes, dry to handle in 1 hour and is fully dry in 4 hours. It can be re-coated after 2 hours, if necessary.