
Rust-Oleum Projects
DIY Peace, Joy, Love Sign
Browse Projects
-
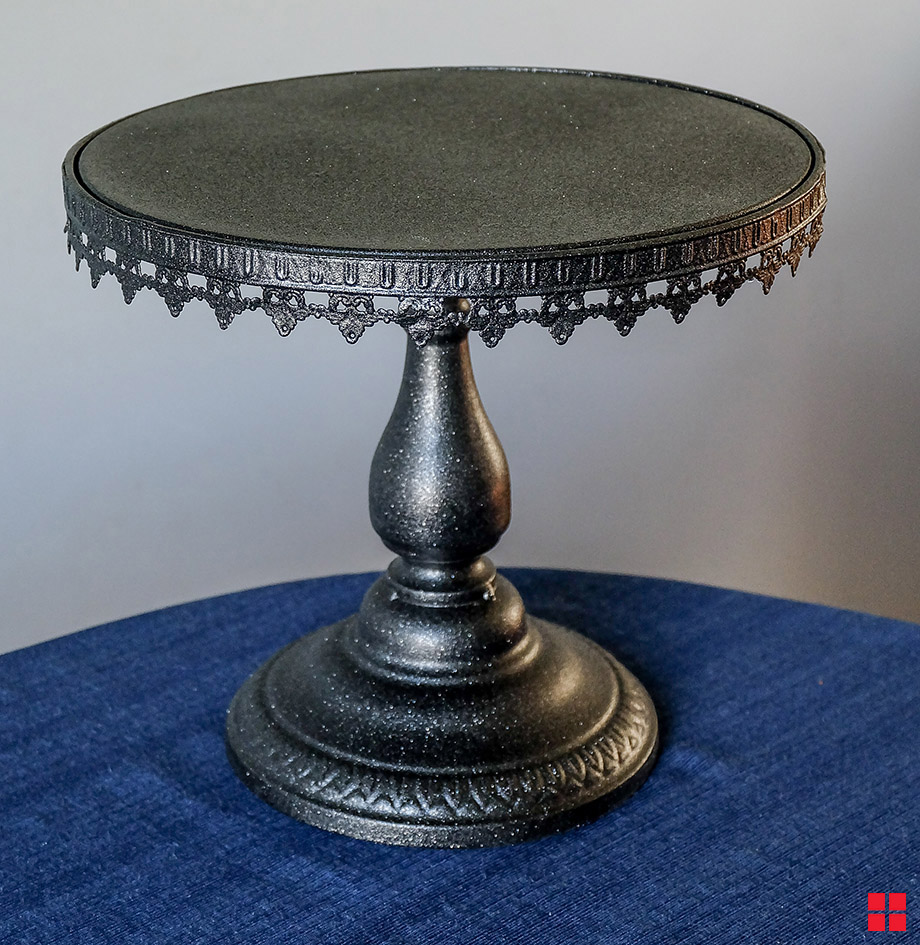
DIY Holiday Cake Stand
-
Wooden Wine Box

-
Estimated Time
3 Hours
-
Challenge Level
Intermediate
-
Tools & Supplies:
-
Drop cloth
-
Tack Cloth
-
Sandpaper (#120, #150, #180 Grits)
-
3 Cedar Planks 12” x 26”
-
2 Furring Strip Boards 36” Long
-
A High Quality Synthetic Bristle Paint Brush
-
Lint-Free Rag or Cloth
-
Screws
-
Drill
-
Small Craft Paintbrush
-
Stencil (Optional)
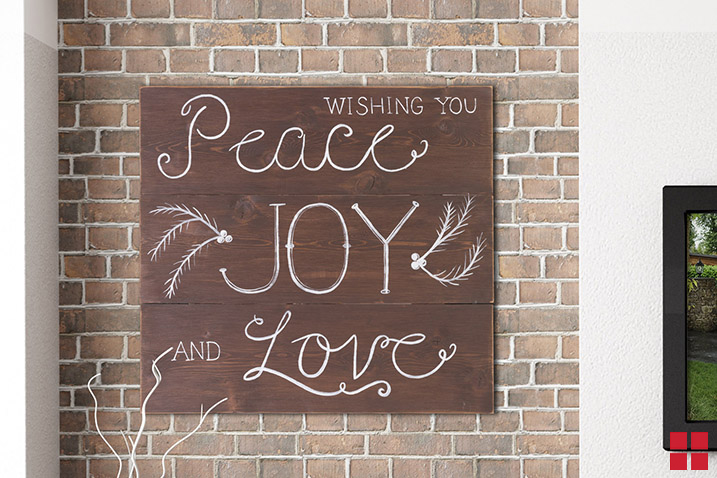
Add some classic rustic charm to your Holiday décor with this surprisingly easy-to-make DIY Peace, Joy, & Love sign.
- PREPARE: Always work in a well-ventilated area and cover your workspace with a drop cloth to protect it from stain.
- SAND: Lightly sand the surface of each cedar plank, working your way up through #120, #150, and #180 grit sandpaper. Be sure to wipe away the sanding dust with a tack cloth in between each grit and once more after you've completed sanding. Once the planks are completely sanded and clean of any dust, it's time to start staining.
- STAIN: If this is your first time working with Ultimate Wood Stain, we recommend watching this quick video on applying wood stain to get familiar with the process. Once you’re ready to get started, stir or shake your Ultimate Wood Stain thoroughly. Dip your high quality synthetic bristle brush or lint-free rag into the stain and apply a liberal amount onto the wood. Work in manageable sections, like one plank at a time. Once you’ve covered one plank, let the stain sit for a few minutes to soak into the wood. Then, use a clean lint-free rag to wipe the excess stain away. Always wipe in the direction of the wood grain. Repeat the staining process on your remaining two cedar planks. Then, let all of your planks dry for one hour.
- LETTERING: Now it’s time to add a festive phrase to your sign. We chose the phrase "Wishing you peace, joy, and love," but you can always get creative and come up with your own. To get started, stir your can of Ultra Cover Premium Latex Paint in Gloss White thoroughly with a stir stick. Then, dip your paint brush into the can and paint your phrase on the boards, using the picture shown above as a guide. If free-handing it isn’t your thing, you can also use a stencil to paint the letters. Once they’re done, let the letters dry for about 2 hours.
- TOPCOAT: Once your letters are dry, you’ll want to apply a topcoat to your sign to protect it from wear. If you’ve never worked with polyurethane, we recommend taking a look at this quick video on applying polyurethane to get comfortable with the process. Once you’re ready to get started, stir (do not shake) your can of Ultimate Polyurethane thoroughly. Using your clean, high quality synthetic bristle brush, apply a coat of the polyurethane to each board, using light even strokes. Apply a total of three coats of polyurethane to each board, waiting two hours in between each coat. Once each piece of wood is coated, set the boards aside to dry for 48 hours.
- ASSEMBLE: After 48 hours, you can assemble the boards into a single sign. To do this, lay the three stained cedar boards down horizontally with the backside facing up. Take your two furring strip boards and place them vertically on top of the cedar boards, toward the center. Attach the furring boards to the cedar planks with a drill and screws.
- FINISH: Attach picture hanging hardware to the back of your sign.
Hang your sign on the front door, over your mantel, or anywhere else in your home that needs some holiday cheer.
Special thanks to The Lily Pad Cottage for their Christmas Mantel project that inspired us to recreate this gorgeous sign.