
Customer Project
How to Make Your Dog's Silhouette into Wall Art
Browse Projects
-
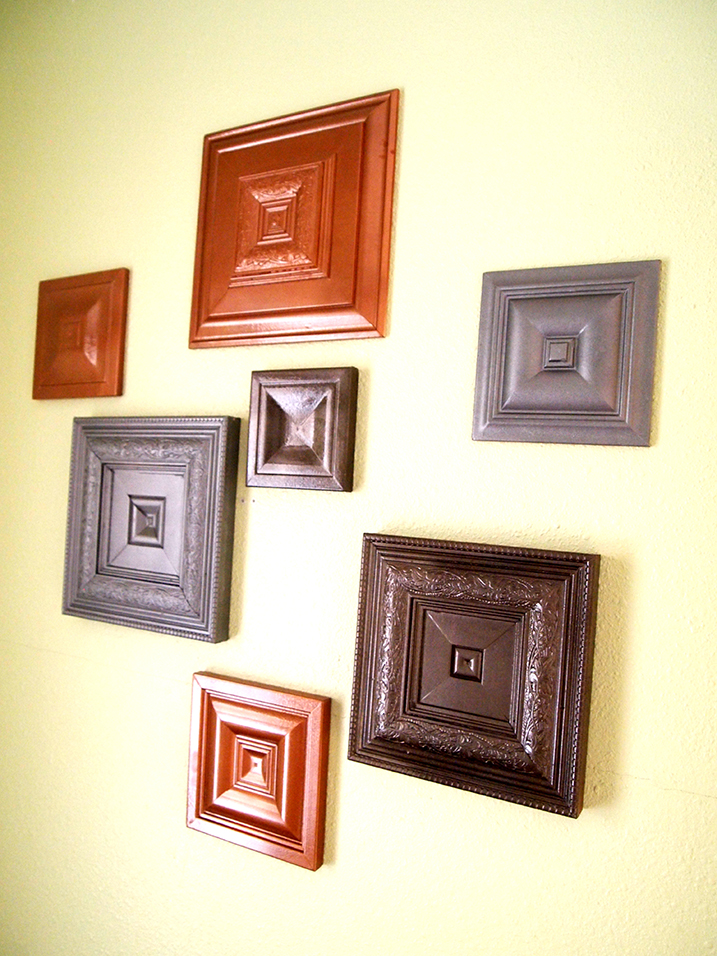
Wood Medallions
-
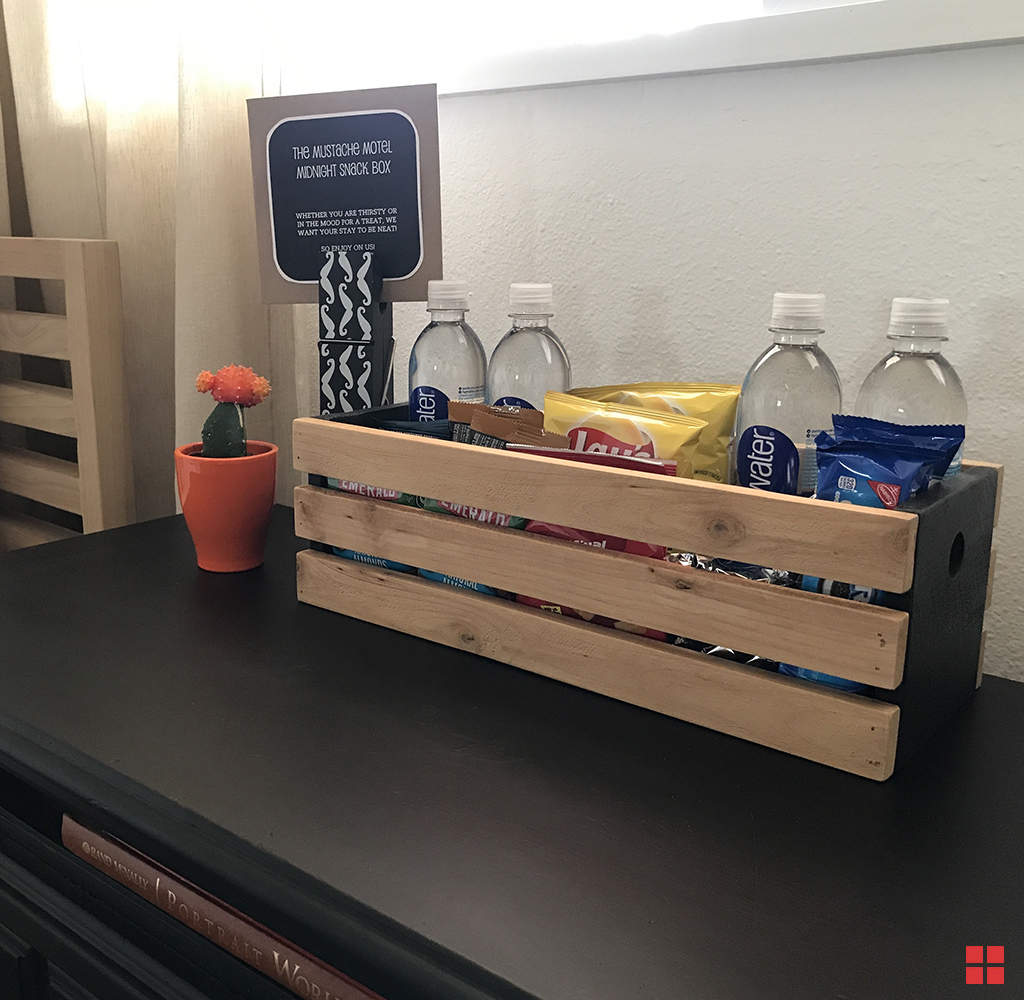
Wood Stain Snack Caddy
-
Estimated Time
4 Hours
-
Challenge Level
Intermediate
-
Tools & Supplies:
-
Dog Silhouette Stencil or Cut-Out
-
(4) 1”x6”x30” Wood Planks
-
Wood Glue
-
Clamps
-
Stir Stick
-
Tack Cloth
-
Lint-Free Cloth
-
High Quality Synthetic Bristle Brush
-
Sandpaper (#120, #150, #180 Grits)
-
Synthetic Bristle Craft Paint Brush
This DIY dog silhouette wall art will add charm to any animal-lover’s living room. Here’s how we made it from scratch in just a few steps.
- PREPARE: Always work in a well-ventilated area and cover your workspace with a drop cloth to protect it from drips. Sand each plank thoroughly, working your way up through #120, #150, and #180 grit sandpaper. Wipe away the sanding dust with a tack cloth in between each grit and once more when you’re finished.
- STAIN: Now, it’s time to stain. Before beginning, thoroughly stir or shake your can of Varathane Premium Fast Dry Wood Stain in Dark Walnut. Dip your lint-free cloth or brush into the stain and, working in small sections, apply a generous amount of stain to the wooden planks in the direction of the wood grain. Let the stain sit for a few minutes (more time = deeper color), and then wipe away the excess with a clean, lint-free cloth. Once all of your planks are completely stained, set them aside to dry for one hour.
- GLUE: Use wood glue and clamps to glue your four planks together to make a 30”x24” rectangular sign. Let the glue dry completely according to the label’s instructions.
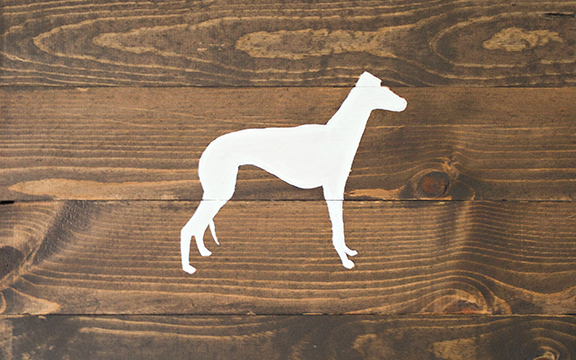
- PAINT: Tape your stencil or trace your cut-out onto the planks. Then, stir your Ultra Cover Multi-Purpose Gloss Paint in Gloss White thoroughly with a stir stick and use a paint brush to paint your dog’s silhouette onto the planks’ surface. For best results, use light, even strokes. Once you’re done painting, set it aside to dry completely for 2-4 hours.
- PROTECT: To protect your artwork’s finish, we recommend applying a polyurethane topcoat. To save time, we used Varathane Triple Thick Polyurethane, which requires only one coat instead of three. To apply the polyurethane, stir (do not shake) it thoroughly with a stir stick. Using a clean, high quality synthetic bristle brush, apply the polyurethane to the planks using long, even strokes in the direction of the wood grain.
- FINISH: Let the artwork cure for 48 hours before displaying. Once it’s cured, add picture-hanging hardware to the back, hang, and admire your new dog silhouette wall art!