
Rust-Oleum Projects
Farm House Wood Sign DIY
Browse Projects
-
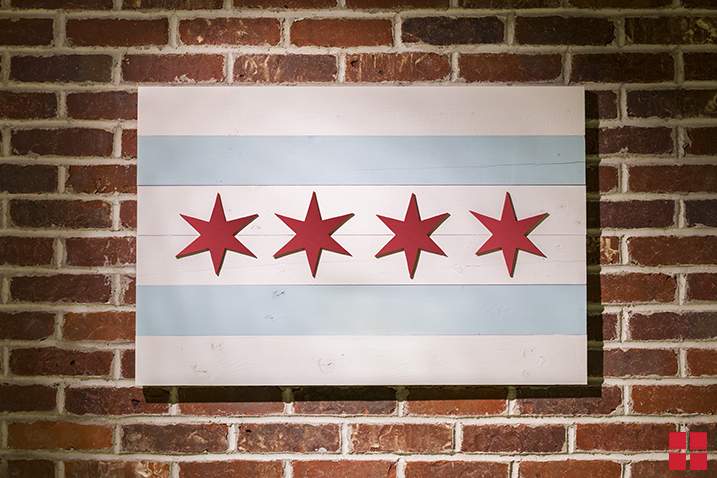
Chicago Flag Wall Art
-
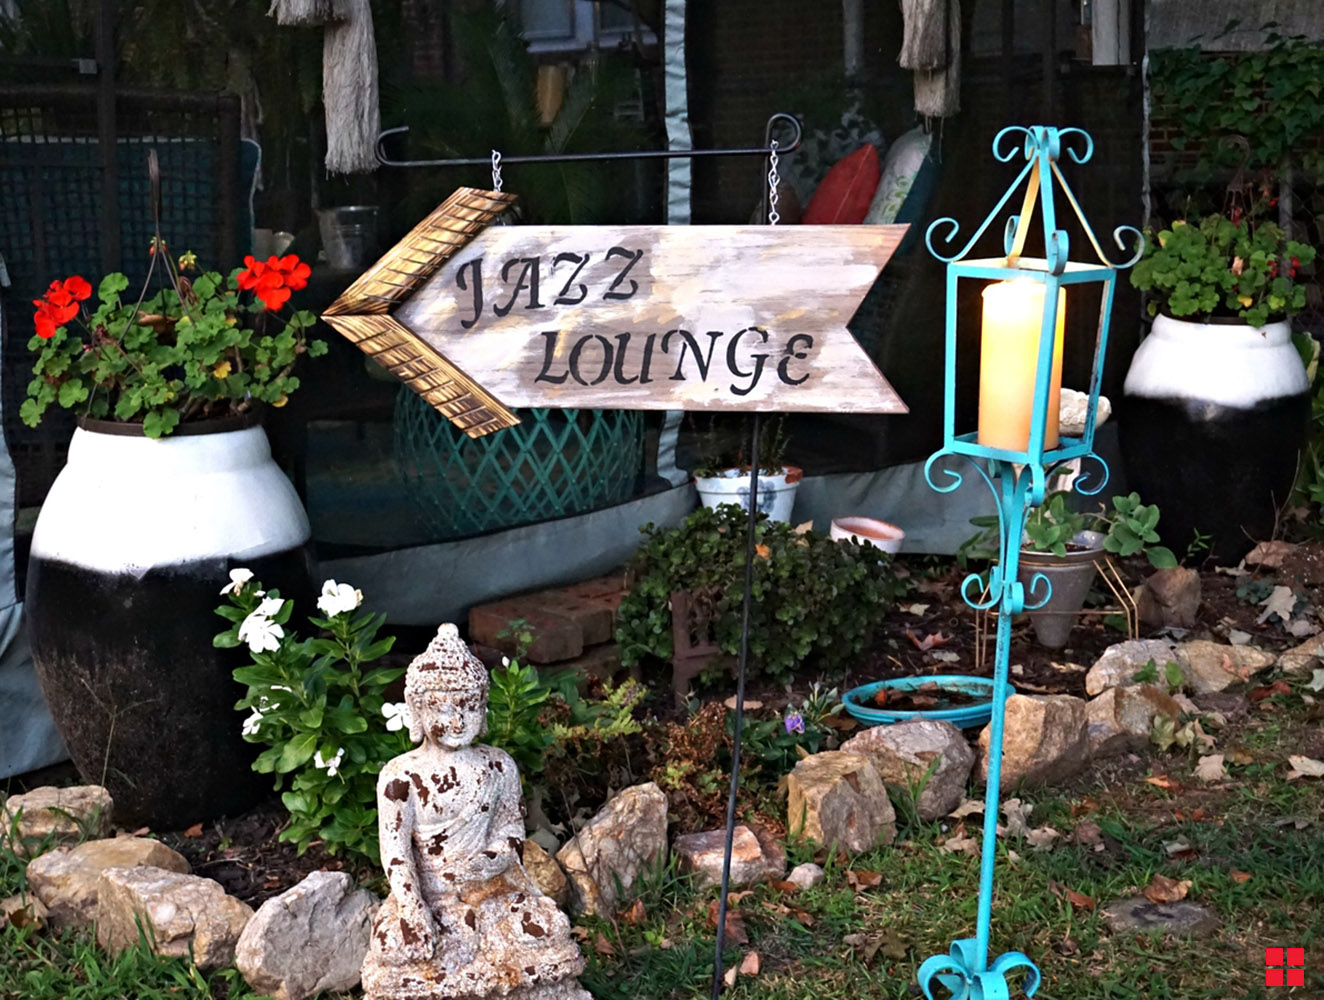
DIY Wood Jazz Lounge Sign
-
Estimated Time
Approximately 2 hour
-
Challenge Level
Easy
-
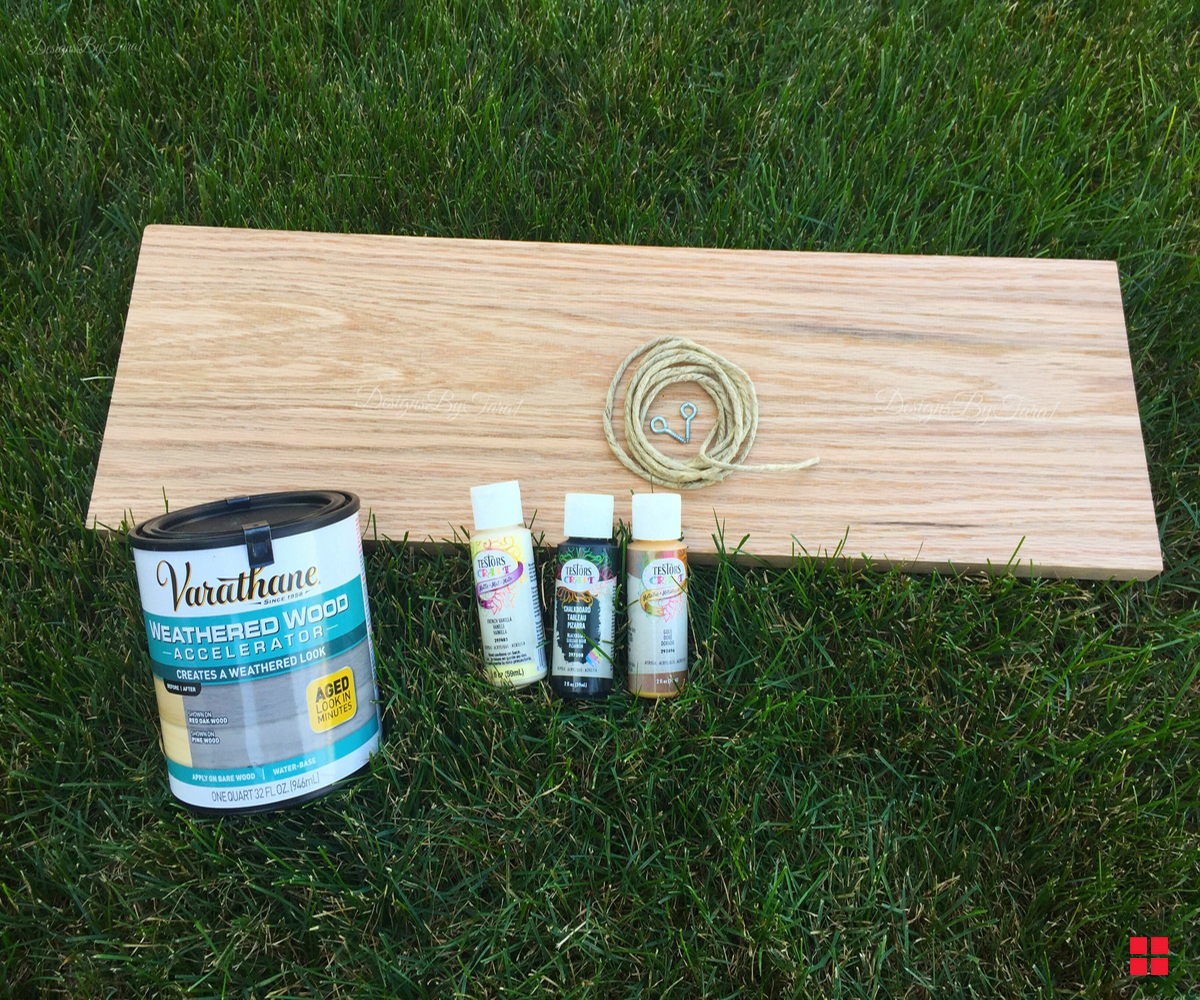
Tools & Supplies:
-
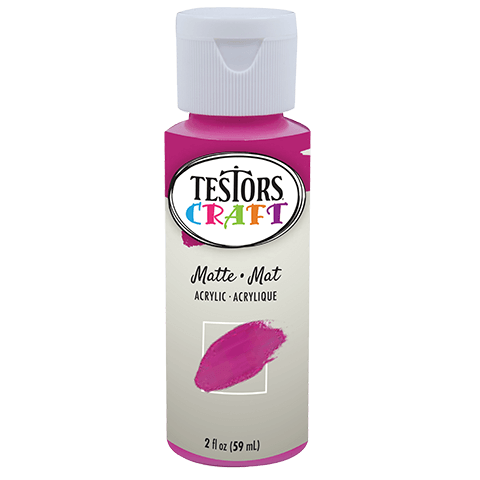
Testors Craft Acrylic Paint (Black, White)
-
Untreated Wood Plank
-
Foam Brush
-
Gloves
-
Painter's Tape
-
Cosmetic Sponge
-
Transfer Tape
-
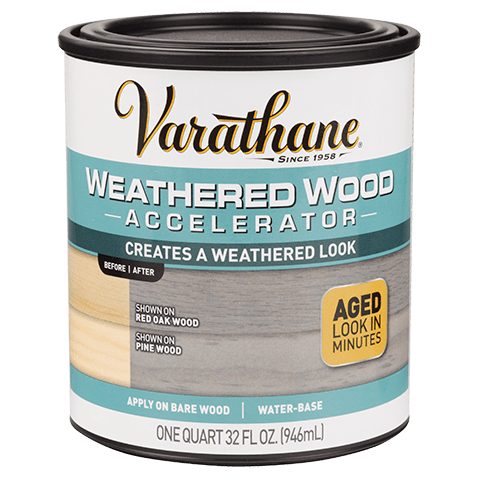
Vinyl Stencil
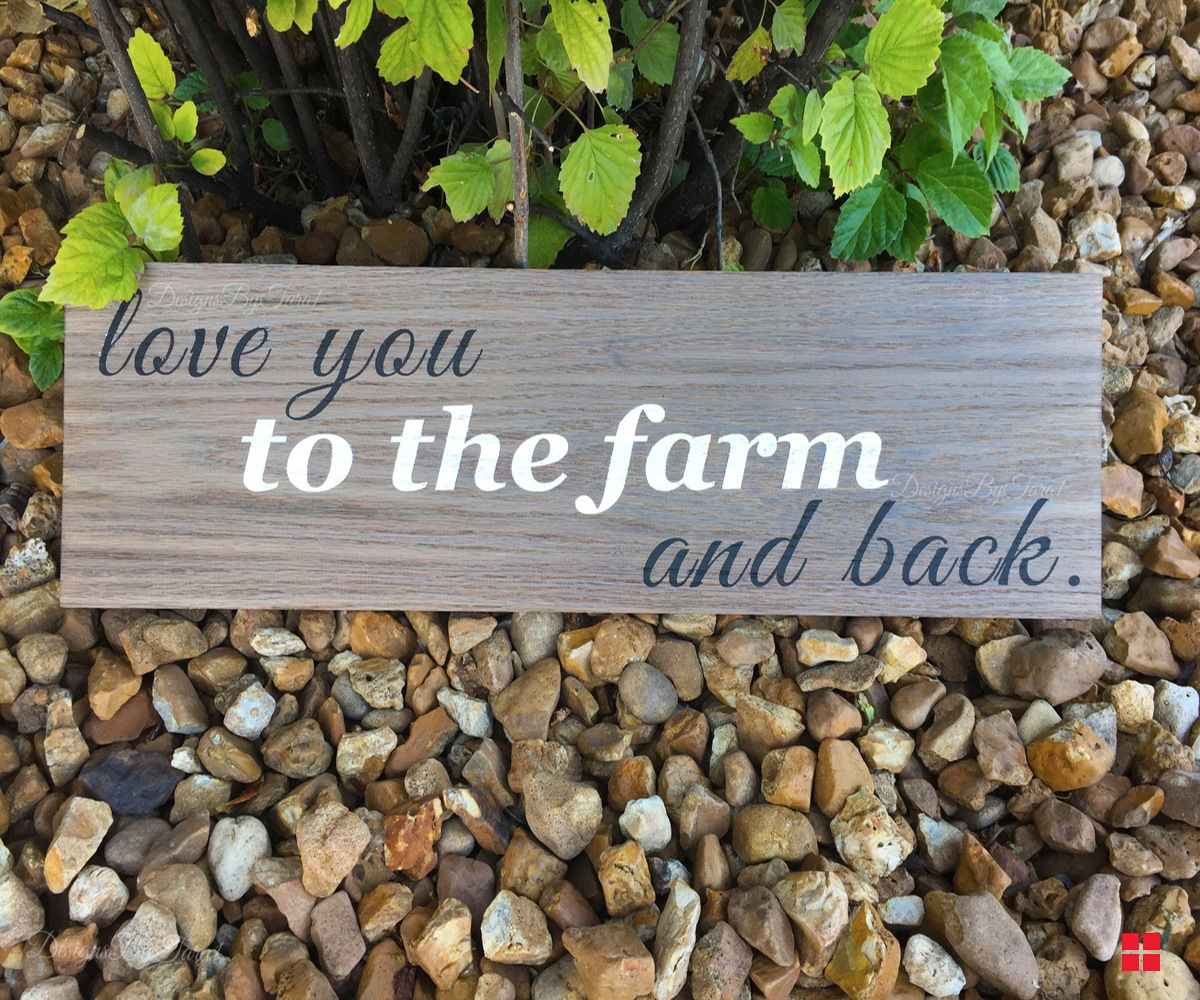
Weathered Wood Accelerator and Testors Craft paints will give you the farmhouse look you want on this DIY project. Create a wood sign for your home décor or give it as a gift.
PREPARE:
Prepare bare wood by sanding in the direction of the grain with a fine grit sandpaper. Remove any dust with a tack cloth, or lint-free rag. Stir the Wood Accelerator thoroughly before and occasionally during use.
APPLY:
Apply the Wood Accelerator liberally to the entire project with a bristle or foam brush. Do not wipe away excess. Allow Weathered Wood Accelerator to sit on the wood for 30 minutes to hour for the final effect. To darken, a second coat may be applied after 1 hour.
NEXT:
Once completely dry, apply vinyl stencil using the transfer tape. Peel paper backing from transfer tape and adhere adhesive side on top of vinyl stencil. The transfer tape is used to pick up the design and move it perfectly to the wood. Smooth out bumps and air bubbles and slowly peel adhesive portion (transfer tape) from one corner to the next, across the entire board, making sure vinyl stencil stays in place. Once transfer tape is removed, your vinyl stencil will be ready to paint! (Tip: Use painters tape to cover any open space that you do not want paint on while painting your stencil).
PAINT:
Apply Testors Craft Acrylic paint in black and white with a foam brush or foam sponge, Remember to use a tiny amount of paint!
FINISH:
A protective finish can be applied after 2 hours. We recommend using Rust-Oleum Matte Clear Enamel Spray to seal your finished sign.
TIP: For a lighter effect, apply product and wipe away immediately or lightly sand the finish with fine grit sandpaper once it is dry. To darken, a second coat can be applied after 1 hour.