
Customer Project
Tablet Stand
Browse Projects
-
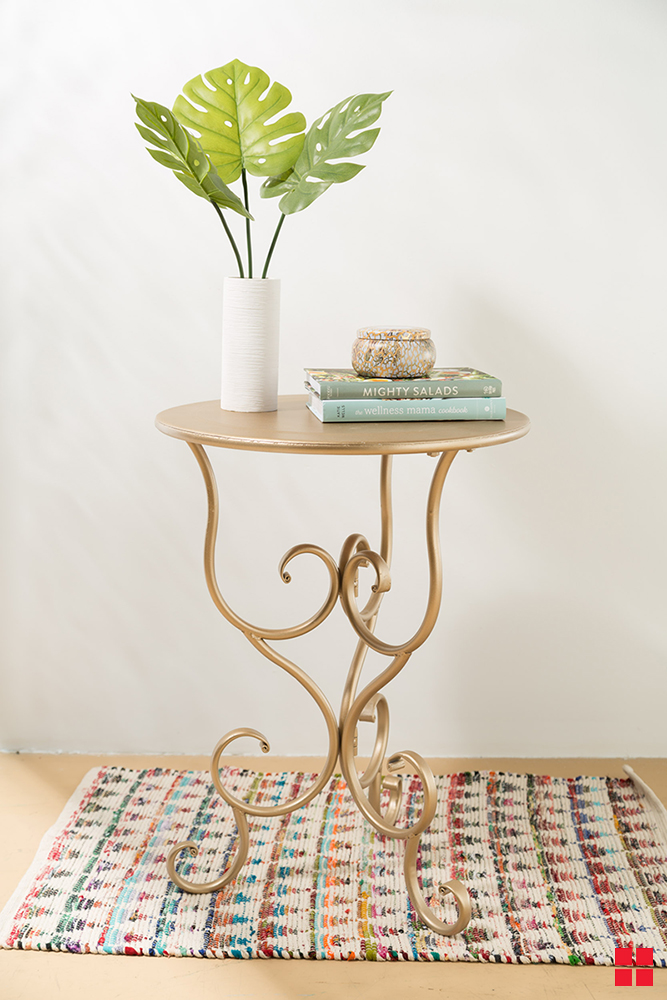
Give An Old Metal Table A New Look
-
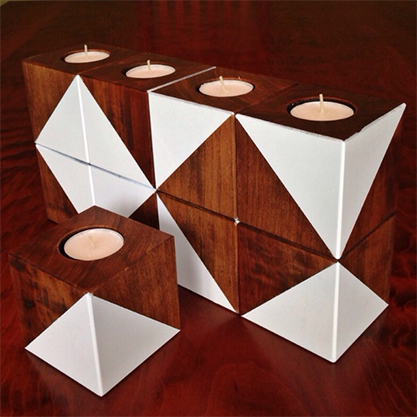
Tea Light Candle Holders
-
Estimated Time
3 Hours
-
Challenge Level
Intermediate
-
Tools & Supplies:
-
10" x 7" x 1 1/2" Block of Wood Such as Pine, Maple or Ash
-
Sandpaper: grits 100, 150, 220
-
Painter's tape
-
Paring Chisels
-
Hammer
-
Handsaw or Table Saw

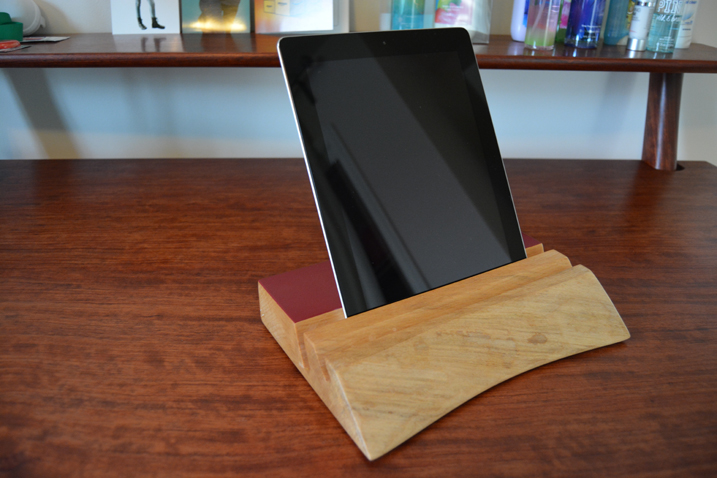
- Cut the block of wood to the final dimensions outlined above.
- Cut the front edge at a 45-degree angle so it shaped like a wedge at the front end.
- Mark lines at 2" and 2 1/2" across the top edge and make cuts along each line at a 45-degree angle to a depth of approximately 3/4".
- If desired, mark a second set of lines across the top edge another 3/4" back from the first groove, and make cuts along those lines at a 25-degree angle to a depth of approximately 3/4".
- Carefully chop away the waste with paring chisels and hammer so two 1/2"-wide grooves remain.
- Sand your project with progressive grits 100, 150 and 220 until all the edges are smooth and ready for finish.
- Apply two coats of Danish oil to the entire piece. Allow 24 hours to dry and wipe away any excess following the instructions on the packaging.
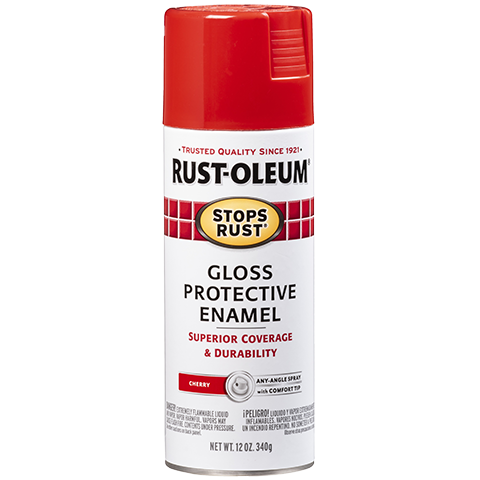
- Based on your particular design preferences, tape off any areas you don’t want painted.
- Apply three coats of spray paint to the desired area.
- Allow 24 hours to dry before removing the painter’s tape.