
Customer Project
Wooden Coat Rack
Browse Projects
-
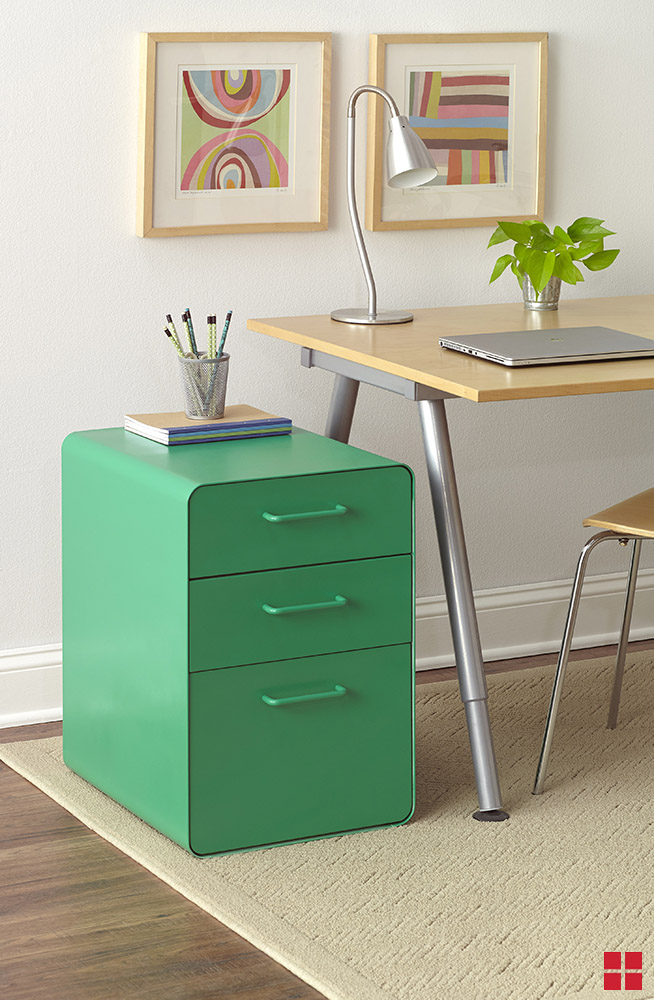
Spray Painted Filing Cabinet
-
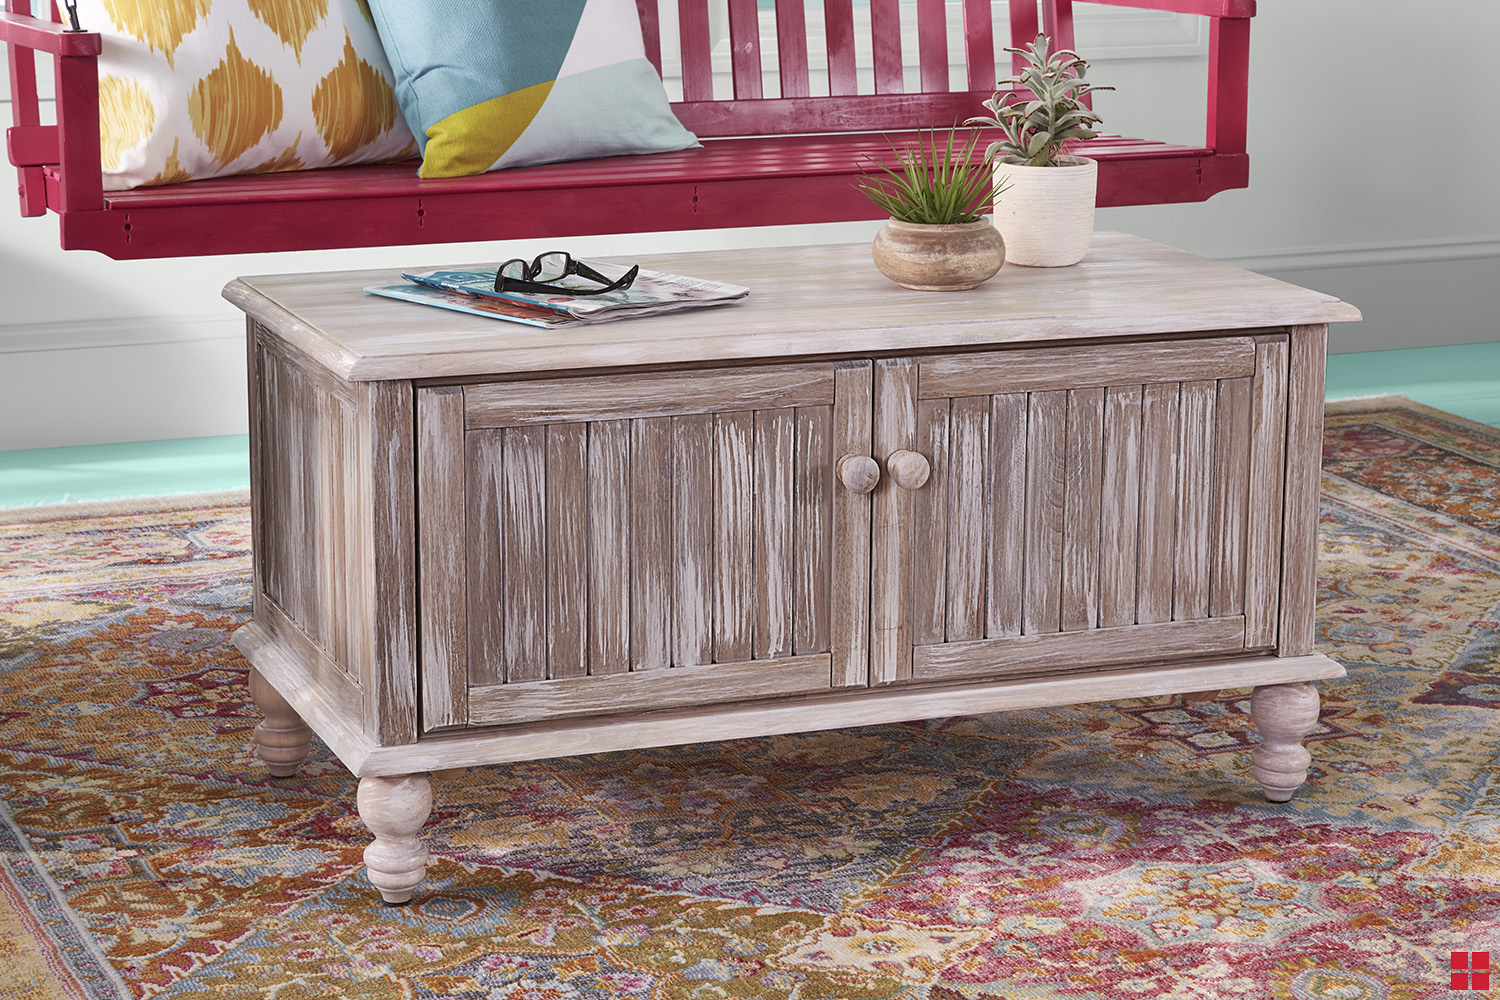
Antiquing Finish Blanket Storage Chest
-
Estimated Time
20 Minutes
-
Challenge Level
Easy
-
Tools & Supplies:
-
Sandpaper: grit 220
-
Strip of Wood
-
Lint-Free Cloth
-
Natural-Bristled Paintbrush
-
Decorative Metal Hooks
-
Drill and Keyhole Router Bit
-
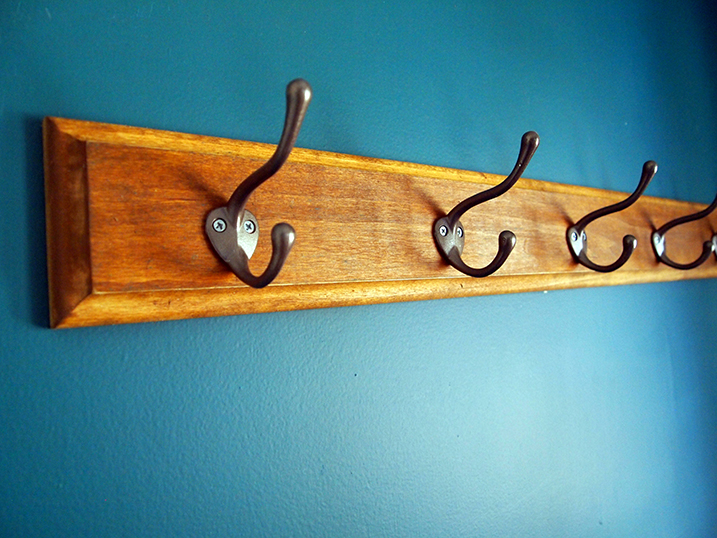
A DIY coat rack helps keep coats where they belong while adding a decorative touch to your space. Follow these steps to construct, stain and paint your own wooden coat rack.
- Lightly sand wood until smooth, then wipe dust away with a lint-free cloth.
- Brush Rust-Oleum® Ultimate Wood Stain on one side of the wood with natural-bristled paint brush, and wipe away excess as you work. Allow it to dry for an hour before applying stain to the other side.
- Apply Zinsser® Bulls Eye 1-2-3 Spray Primer to the metal hooks, and allow them to dry.
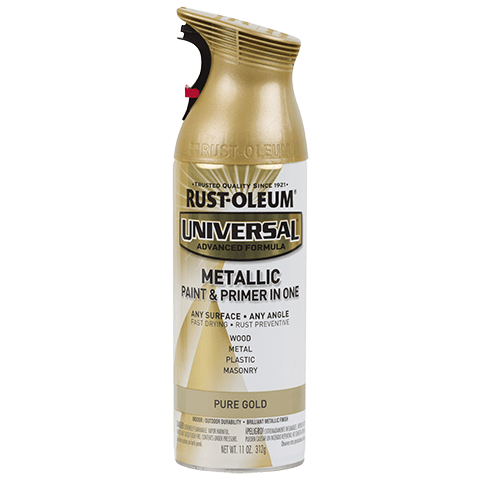
- Apply Rust-Oleum® Metallic spray paint to the hooks, and allow them to dry. Repeat if extra coats are necessary.
- Apply an even coat of Rust-Oleum® Ultimate Spar Varnish to the wood strip, and allow it to dry.
- Drill notches in the back of the rack of the using a keyhole bit.
- Attach the hooks to the front of the strip of wood with a drill and screws.
- Hang your complete coat rack on the wall from the keyhole notches on the back.