
Rust-Oleum Projects
Decorative Cutting Board
Browse Projects
-
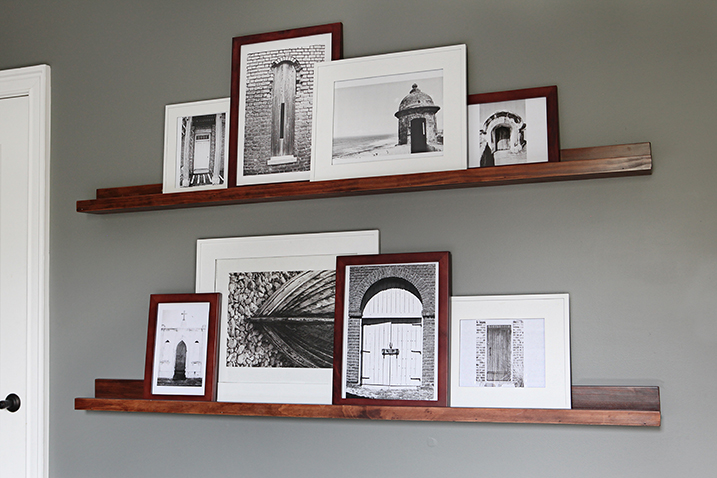
Photo Ledges
-
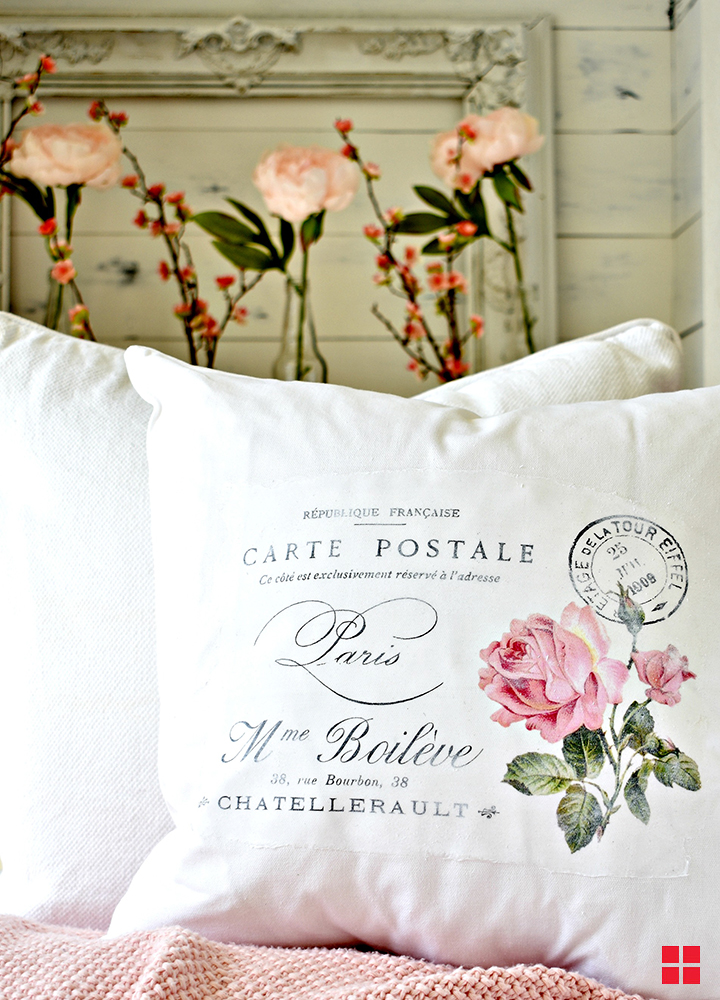
Personalized Pillow
-
Estimated Time
Approximately 48 hours
-
Challenge Level
Easy
-
Tools & Supplies:
-
Kitchen Board
-
Three 2" Synthetic Paintbrushes or Foam Brushes
-
Light Grit Sandpaper
-
Clean Rag
-
Ruler
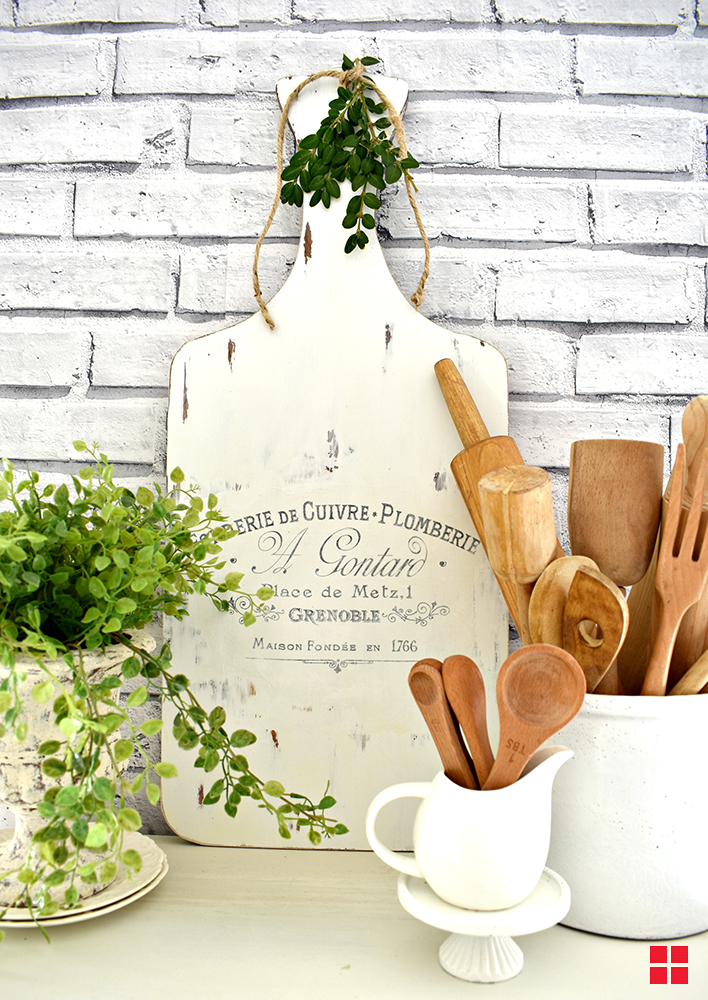
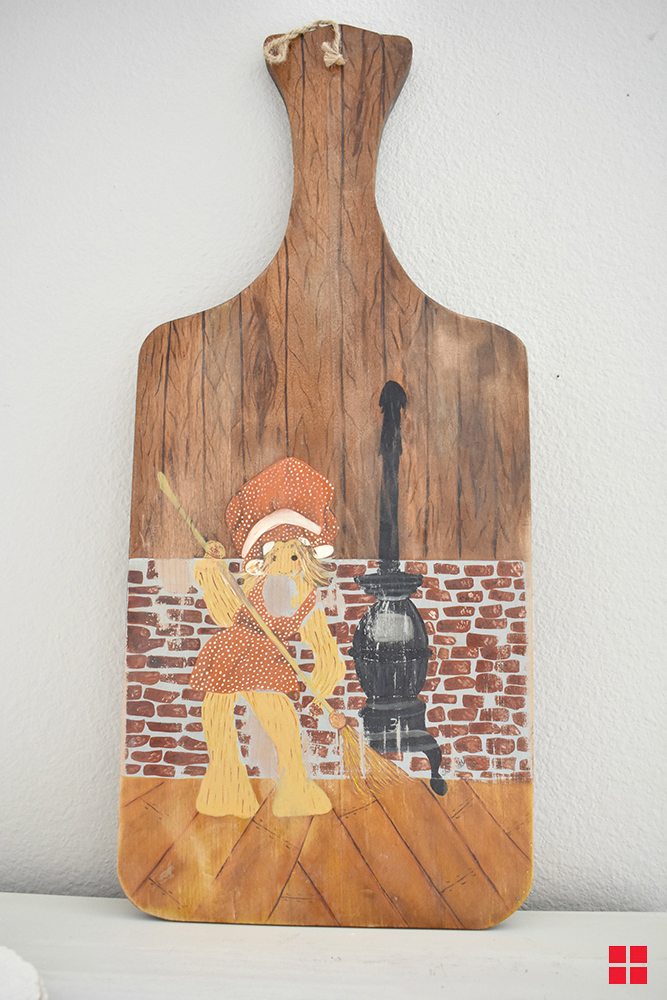
Repurpose a worn out wooden cutting board into a decorative cutting board for your kitchen wall. Give it a new coat of paint, distress it a little and add a transferred design to transform that old cutting board into custom DIY home décor.
- Make sure the cutting board is clean and dry.
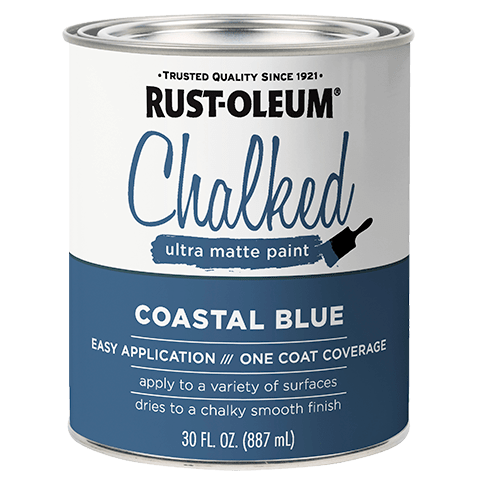
- Sand down any rough spots, including any old paint. Apply Rust-Oleum® Chalked Ultra Matte Paint with a brush and let it dry. After you let it fully cure for 24 hours, use sandpaper to distress the paint. We recommend Gator Finishing sanding products.
- Use a laser printer to print an image on copy paper. Place the image face up on the cutting board Apply a generous amount of Rust-Oleum Photo Transfer to the printed side of the image and place it with the image face down on the cutting board. Use a ruler to smooth the image against the cutting board and remove air bubbles. Let the image and solution sit against the cutting board for 12 hours. After it has cured for 12 hours, wet the backside of the paper with water until you see the image. Using a clean rag, rub in a circular motion to remove the paper backing.
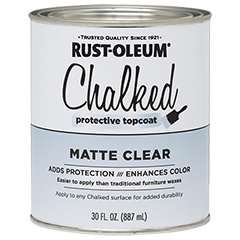
- Let it dry, then coat with Rust-Oleum® Chalked Protective Topcoat for protection.
- Hang your decorative cutting board on the wall and enjoy your new kitchen décor.
NOTE: This project is for decorative purposes only. The paint, topcoat and Photo Transfer products are not food safe.