
Customer Project
Magnetic Chalkboard Organizer
Browse Projects
-
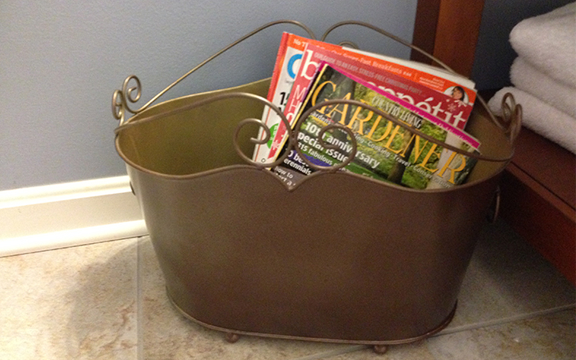
Magazine Bin
-
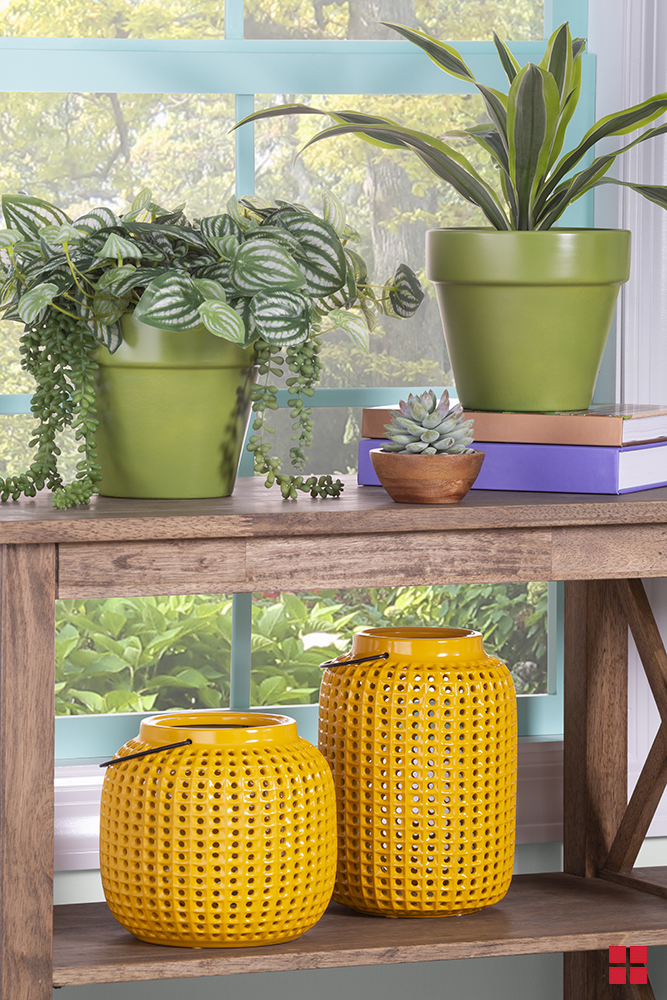
Change the Look of Your Lanterns
-
Estimated Time
4 Hours
-
Challenge Level
Easy
-
Tools & Supplies:
-
New or Vintage Picture Frame
-
Large Piece of Cardboard or Old Sheet
-
Galvanized Sheet Metal
-
Glass Cleaner
-
Wax Paper
-
MDF (medium-density fiberboard) Backing
-
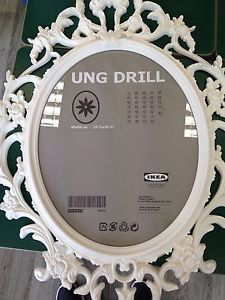
- Pick any new or vintage frame of your choice. Ours is an Ikea UNG Drill Frame with clear glass. Carefully remove all glass, paper, and cardboard from inside the frame.
- Lay down a large piece of cardboard or an old, clean twin sheet on the ground or a sturdy table. Put your frame on it.
- Optional: Spray multiple, light coats of Rust-Oleum® Universal® Spray Paint onto the backside of the frame. Allow the paint to dry between coats and before handling. Flip the frame over when it’s dry.
- Paint the front side of the frame. Allow the paint to dry between coats and before handling.
- Find the paper insert that came with the frame and place it on your sheet of galvanized sheet metal. Wearing work gloves, use it as a guide as you carefully cut the sheet metal with metal tin snips (both can be found at most hardware stores).
- Clean the newly cut sheet metal thoroughly with glass cleaner and let it dry.
- Carefully hand-apply the chalkboard vinyl to one side of the sheet metal.
- Use the paper insert again as a template, this time on the MDF backing. Cut the MDF backing so it’s the size of the paper template.
- When your frame is completely dry, place it facedown on the wax paper.
- Carefully insert the metal (with chalkboard vinyl facedown) into the frame. Do the same with the MDF backing.
- Press the frame’s metal tabs down over the new MDF backing.
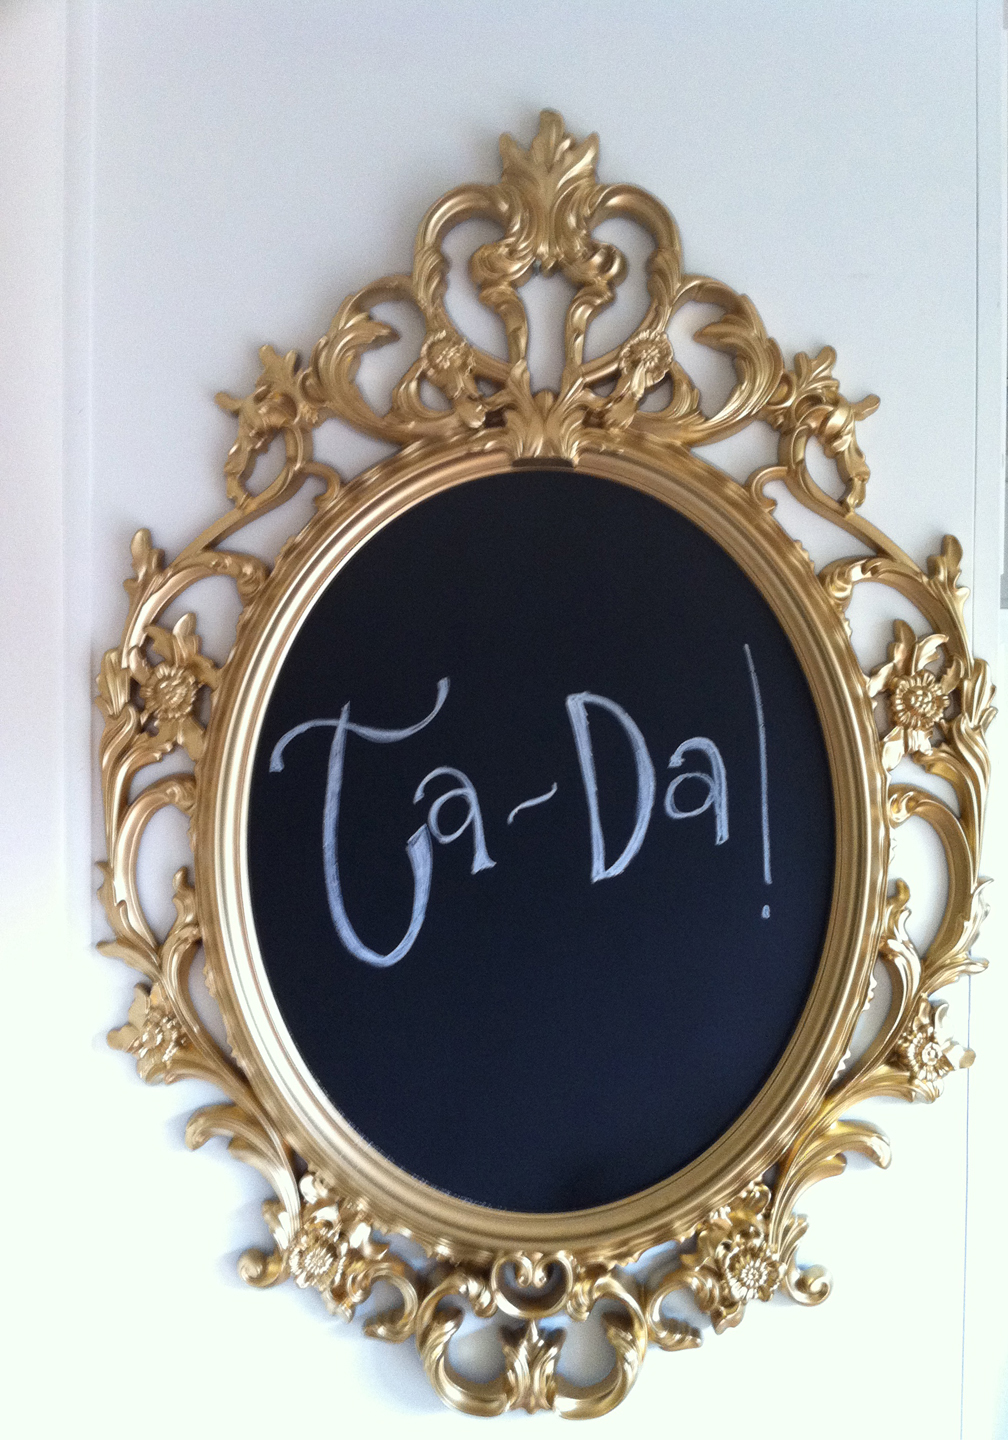
- Ta-da! You have a brand-new chalkboard (that’s also magnetic) for posting memos, writing notes, and getting organized!