
Rust-Oleum Projects
DIY State Wall Art
Browse Projects
-
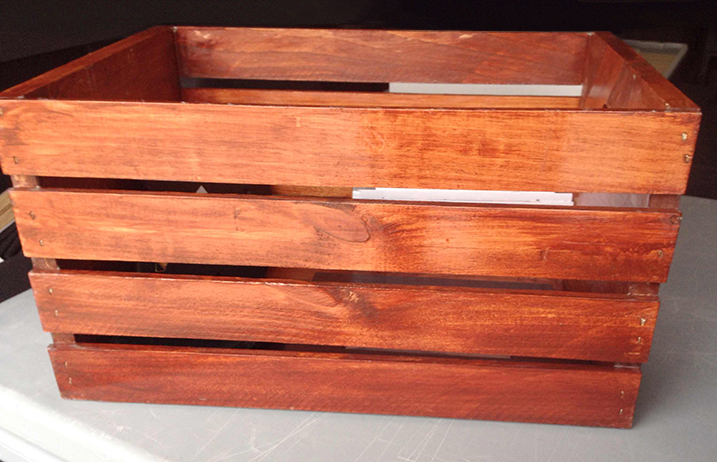
DIY Stained Wooden Crate
-
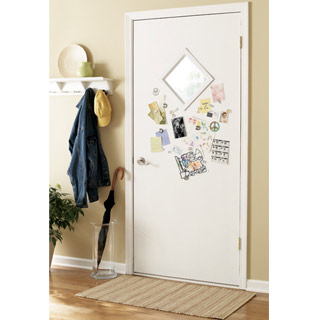
Doorway noteboard
-
Estimated Time
3 Hours
-
Challenge Level
Intermediate
-
Tools & Supplies:
-
High Quality Synthetic Bristle Brush
-
Lint-Free Cloth
-
Wood Glue
-
(9) 17” X 2” Wooden Planks
-
17” X 18” Plywood
-
Sandpaper (#120, #150, #180 Grits)
-
Tack Cloth
-
Saw
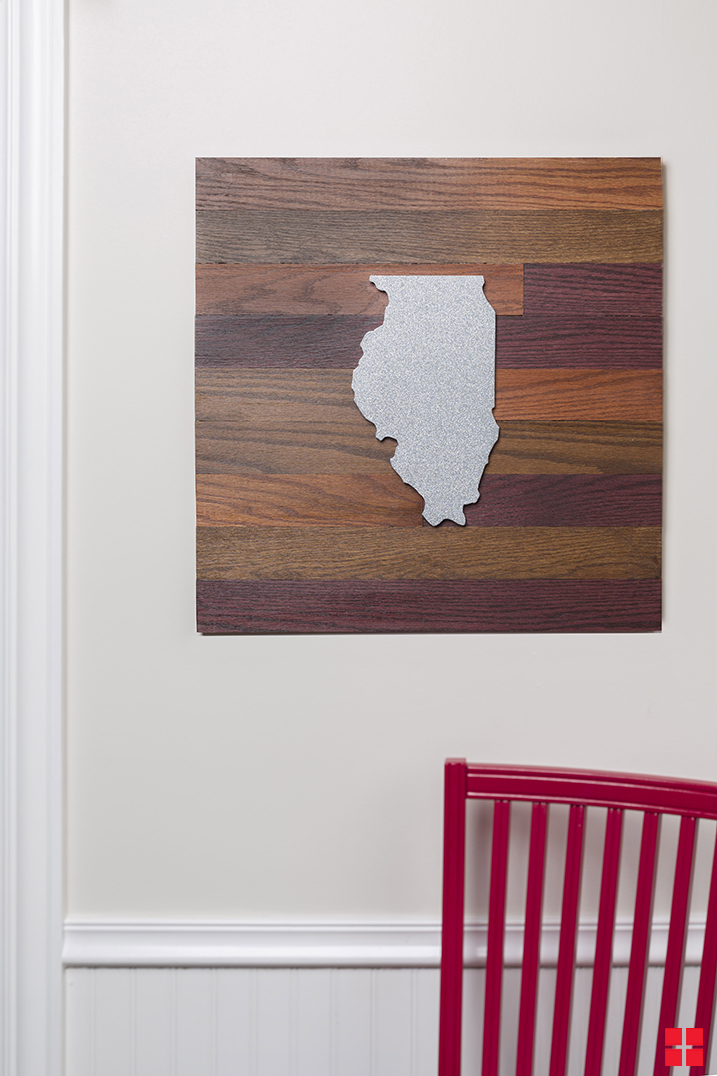
Show off your state pride with this chic state wall art. With rich stain colors paired with sparkly glitter, this artwork is sure to pop in any room!
- PREPARE: Always work in a well-ventilated area and cover your workspace with a drop cloth to protect from paint and stain. Using a saw, cut three of the wooden planks into two unequal parts. Make sure to keep each set of halves together. These pieces will give your wall art a mismatched look. Sand each piece of wood thoroughly, working your way up through #120, #150, and #180 grit sandpaper. Wipe away the sanding dust with a tack cloth after finishing with each grit.
- STAIN: Stir or shake your Rust-Oleum Ultimate Wood Stain in Dark Walnut thoroughly. Then, use your lint-free cloth or brush to apply a generous amount of stain onto a third of the pieces of wood in the direction of the wood grain. Let the stain sit on the surface for a few minutes, and then wipe away the excess with a clean cloth—continuing to work in the direction of the wood grain. Repeat this step with your Black Cherry and American Walnut wood stains on the remaining pieces of wood. Make sure you stain each half piece a different color than its other half. To get our look, use the picture as a guide while staining. Then, set all the wood aside to dry for at least two hours.
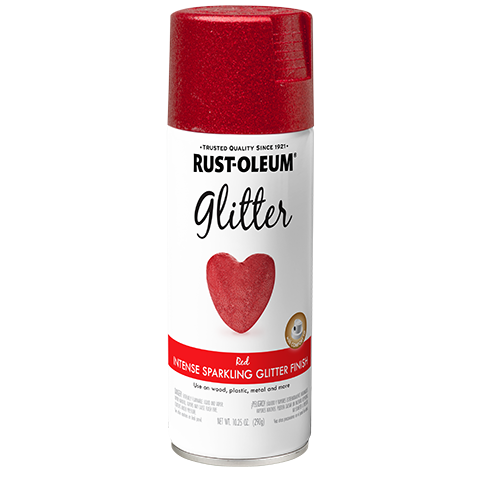
- GLITTER: Shake your can of Glitter spray paint in Silver for about one minute after the mixing ball starts to rattle. Then, hold the can 12-14” away from the state cutout and spray in a steady sweeping motion. Apply multiple light coats to the state a few minutes apart until it’s completely covered. Then, let the glitter dry for 20 minutes.
- SEAL: Next, use the same technique you used with the glitter to apply a few light coats of Glitter Clear Sealer as a topcoat on the state cutout.
- BUILD: Once the stain is dry, assemble the wooden planks in the desired pattern. Then, use wood glue to attach the pieces to the plywood backing. Let the glue dry according to its label’s instructions. TIP: To protect the wood’s finish, consider applying a coat of Triple Thick Polyurethane in Satin. Follow the label’s instructions to apply.
- FINISH: Use wood glue to adhere the state cutout to the wood. Let the wood glue dry. Then, add picture hanging hardware to the back of the wall art, hang, and enjoy!