
Rust-Oleum Projects
Super Simple DIY Wall Art
Browse Projects
-
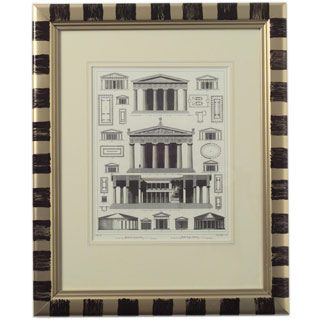
Classical Crafted Frame
-
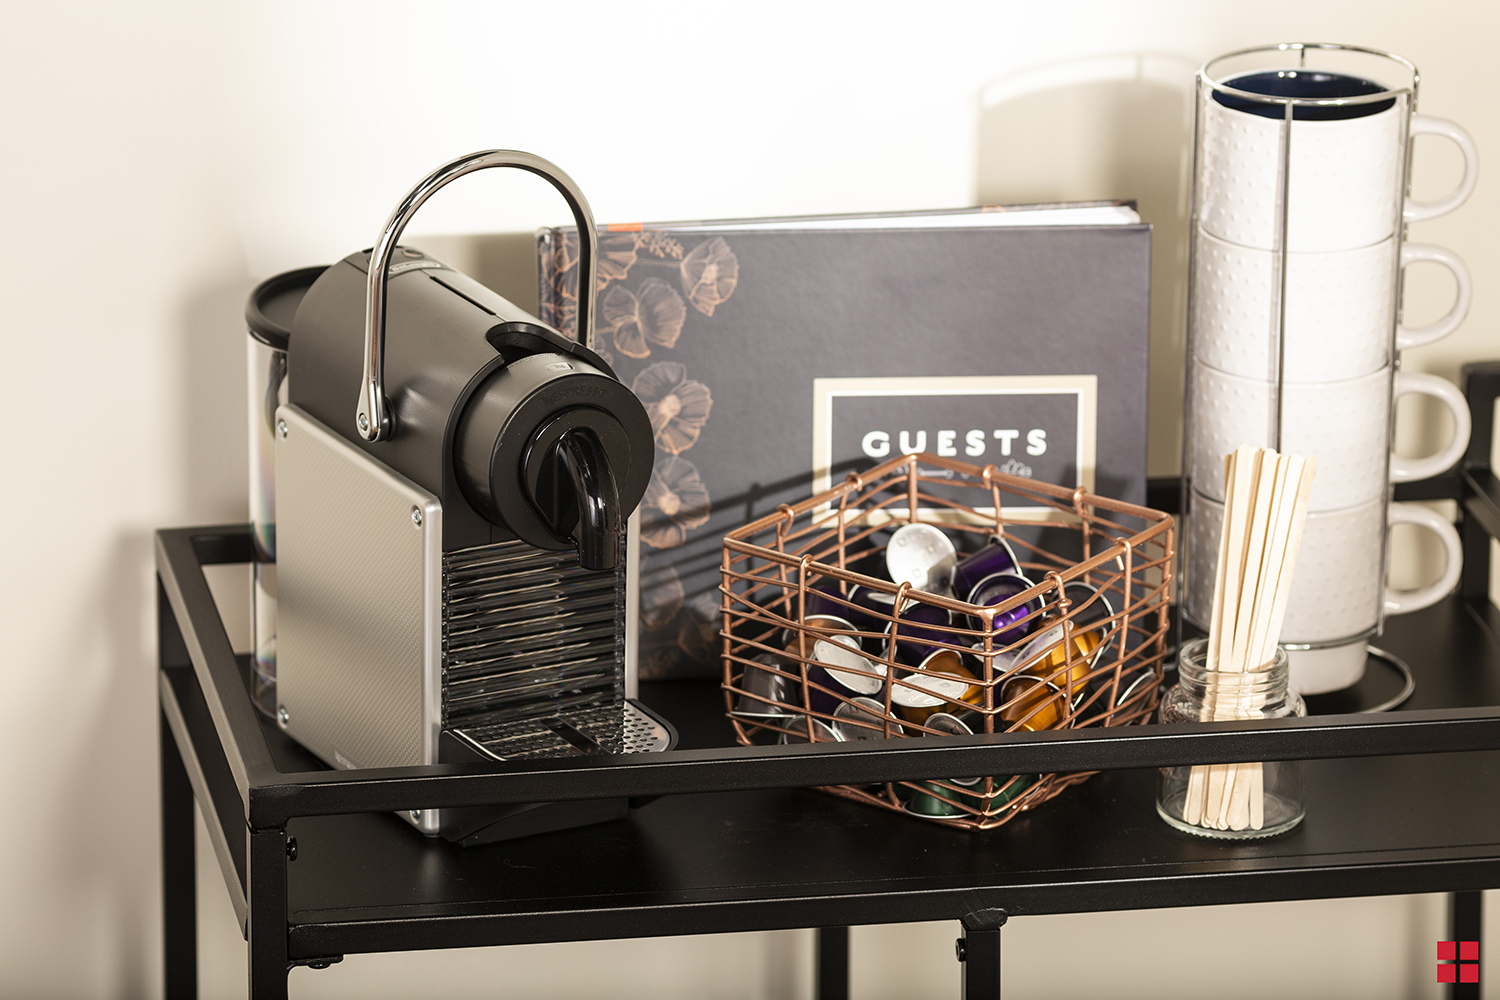
Hand Painted Wire Basket
-
Estimated Time
1 Hour
-
Challenge Level
Easy
-
Tools & Supplies:
-
Drop cloth
-
Lint-Free Cloth
-
Picture Frame
-
Canvas
-
Wooden Shape
-
Adhesive Glue
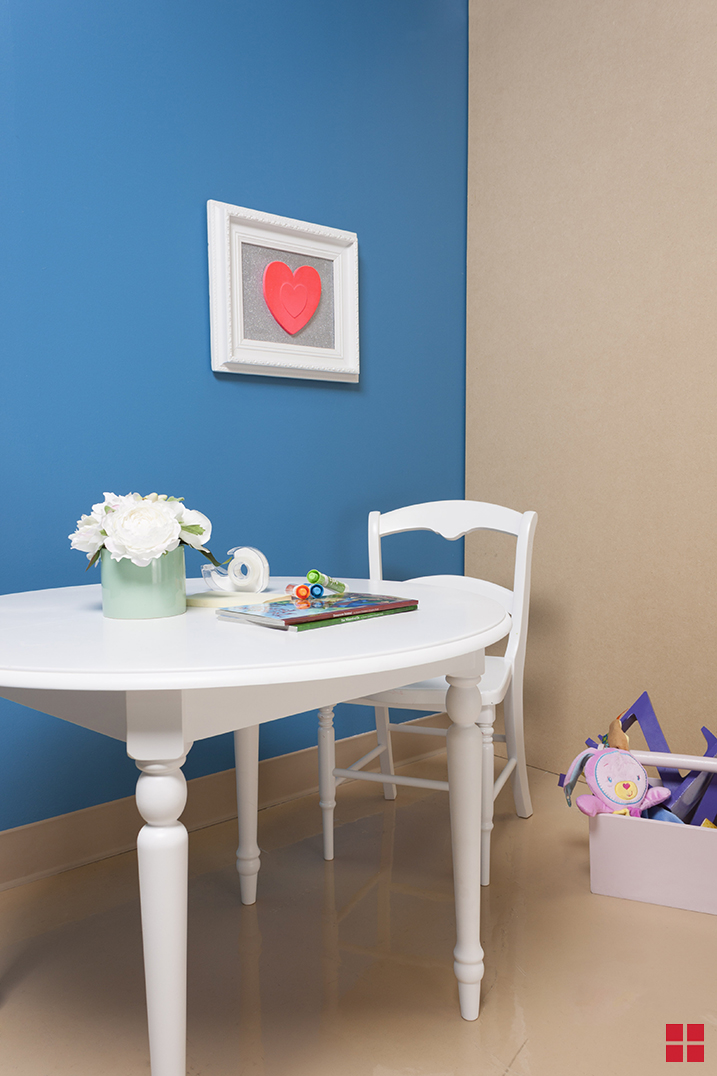
The simple shapes in this colorful wall art make it perfect for a kid's bedroom, playroom, or nursery. And it's so easy to make, you can even get the kids involved! Follow the steps below to get our look or change out wooden shapes and colors for a design of your own.
- PREPARE: Always work in a well ventilated area and cover nearby items with a drop cloth to protect them from paint splatters. Clean the frame and wooden shape with a lint free cloth.
- PAINT:
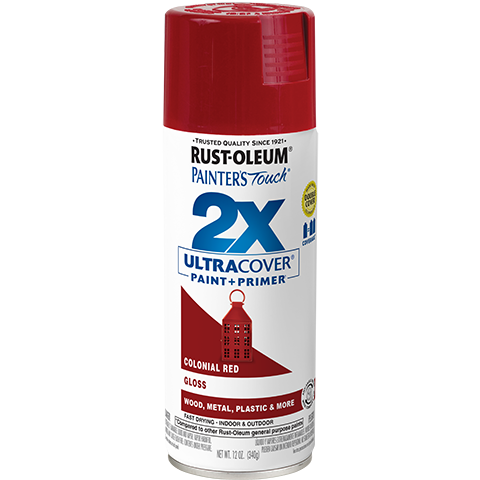
Frame: Shake your can of Ultra Cover 2x Gloss spray paint in Gloss White for 1 minute after the mixing ball begins to rattle. Hold it upright 10-16” from the picture frame and spray in a steady back-and-forth motion, slightly overlapping each stroke. Apply two or more light coats a few minutes apart. Set aside.
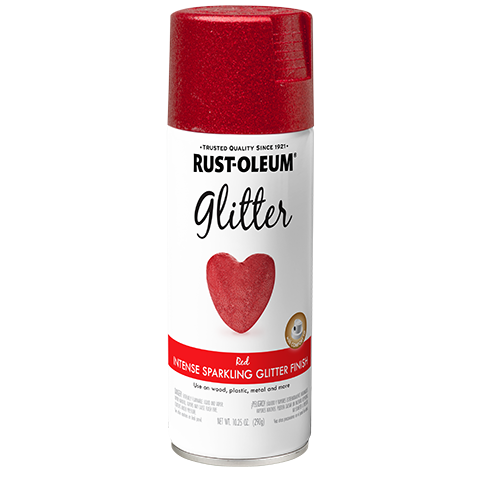
Canvas: Shake your can of Glitter spray paint (Silver) for 1 minute after the mixing ball begins to rattle. Hold it upright 12-14” from the canvas and spray in a steady back-and-forth motion, slightly overlapping each stroke. Apply two or more light coats a few minutes apart. Set aside.
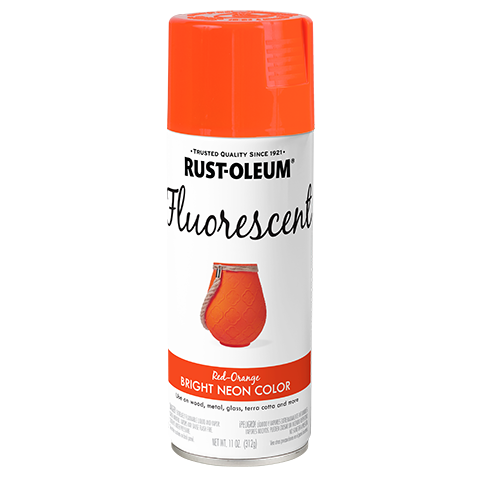
Wooden Shape: Shake your can of Fluorescent spray paint in Fluorescent Pink for 1 minute after the mixing ball begins to rattle. Hold the can upright 10-16” from the wooden shape and spray in a steady back and forth motion, slightly overlapping each stroke. Apply two or more light coats a few minutes apart. - FINISH: Let all three items dry separately for approximately 24 hours. Once they're dry, secure the canvas in the frame and adhere the wooden shape with adhesive glue.
Hang up your colorful picture and enjoy!