
Rust-Oleum Projects
How to Make a Chalkboard Wall
Browse Projects
-
Accent Cabinet Makeover

-
Estimated Time
2 Hours
-
Challenge Level
Easy
-
Tools & Supplies:
-
Drop cloth
-
Painter's tape
-
Roller Tray
-
Foam Roller (1/4” to 3/8” Nap) and Frame
-
Chalk
-
Clean Cloth or Eraser
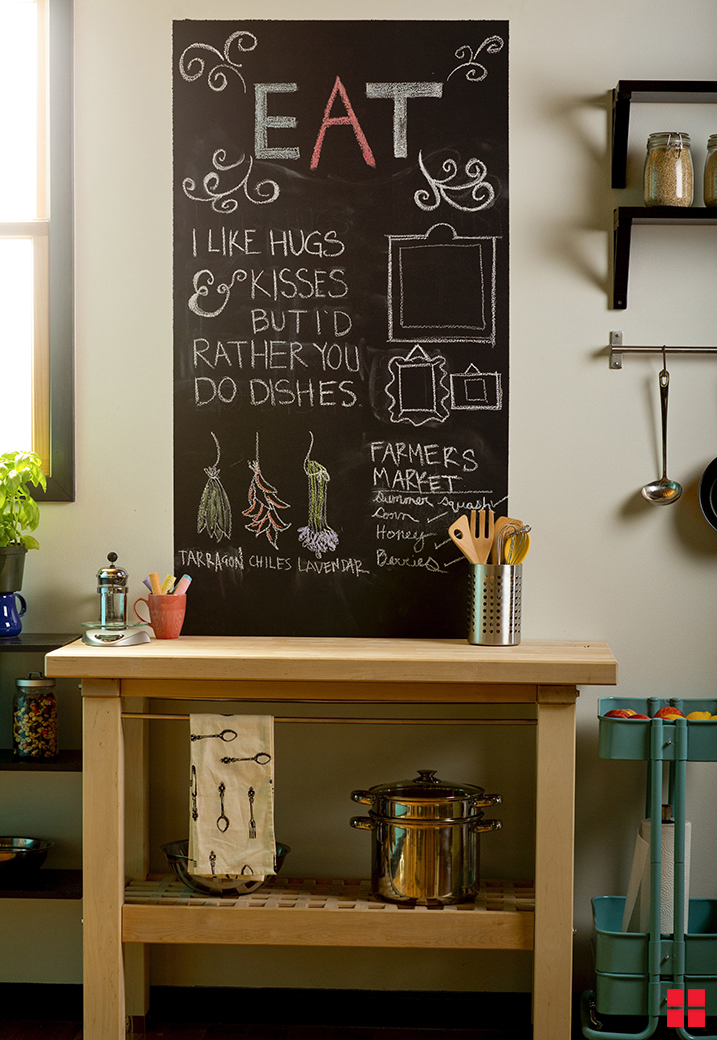
Here it is: the much sought-after, classic chalkboard wall. We'll walk you through how to do it right from start to finish so you can turn any room into Message Central Station in no time.
- PREPARE: Cover nearby items with a drop cloth to protect against paint drips. Clean the wall thoroughly with soap and water. Then, use painter’s tape to create a border for your chalkboard. We recommend using a level to ensure your lines are straight.
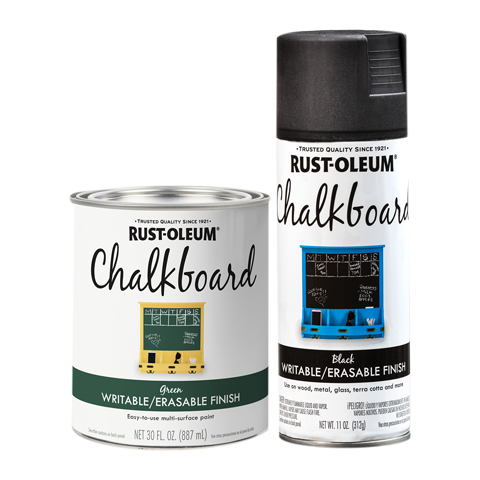
- PAINT: Mix the paint thoroughly. Then, use a foam roller to apply your Chalkboard Brush-On paint to the wall. Avoid excessive rolling and use light, even strokes for an even and smooth finish. Wait 2-4 hours and then apply a second coat. Repeat once more, so you have three solid coats of paint on your wall.
- FINISH: Allow the chalkboard paint to dry for three days. Once it's completely cured, condition the surface by rubbing the side of a piece of chalk over the entire area and erasing.
After you've conditioned the board with chalk, you're ready to get creative.
Now, time to use up that leftover chalkboard paint! Check out these other chalkboard projects:
DIY Chalkboard Globe
Crafty Chalkboard Serving Tray
Chalkboard Coffee Table
Magnetic Chalkboard Organizer
Chalkboard Calendar