
 Step 1
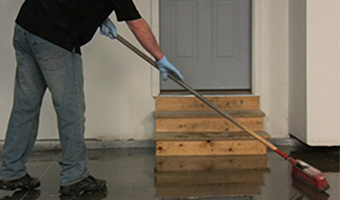
Concrete Preperation Remove grease, oil, salt and other contaminants with a cleaner degreaser such as RUST-OLEUM® CLEANER & DEGREASER. Scrub spots thoroughly with a stiff bristle brush or broom and wipe up excess cleaner with rags or paper towels to keep contaminants from spreading. Rinse thoroughly with fresh water. For proper penetration and maximum adhesion, use RUST-OLEUM® CLEAN & ETCH. Follow label instructions carefully and allow the floor to dry completely. Wipe your fingers over the clean, dry surface. If you see any dust or powder on your fingers, repeat rinsing and scrubbing until the floor is clean. |
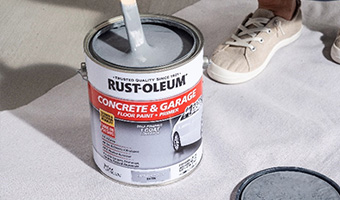 Step 2
Mix Paint is ready to use. Do not thin. If using more than one gallon, intermix all cans of the same product to ensure color uniformity. Stir thoroughly before applying. |
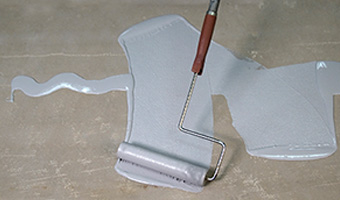 Step 3
Apply Use a brush or edger to trim the perimeter and hard-to-reach areas. Use a long handled roller and a high-quality, 3/8” nap roller cover to apply an even coat onto the surface. Apply in 4’x 4’ sections, and maintain a wet edge to prevent lap marks and gloss differences. Continue applying in 4’x 4’ sections until complete. Only one coat is necessary. If a second coat is desired, wait 24 hours before applying the second coat in a direction perpendicular to the first. Occasional touch-up may be necessary for areas subject to heavy vehicle traffic. |
 Step 4
Optional Decorative Chips Chips can be added for an upgraded appearance. They should be applied in 4x4 sections while the coating is wet. Leave a 6” – 12” section of wet film without decorative chip. This section will be rolled into when coating the next 4’ x 4’ area. Chips can offer added slip resistance and can hide surface imperfections. |